This tutorial will guide you through the initial steps of setting up a dashboard for new sub accounts, including configuring widgets and optimizing the layout.
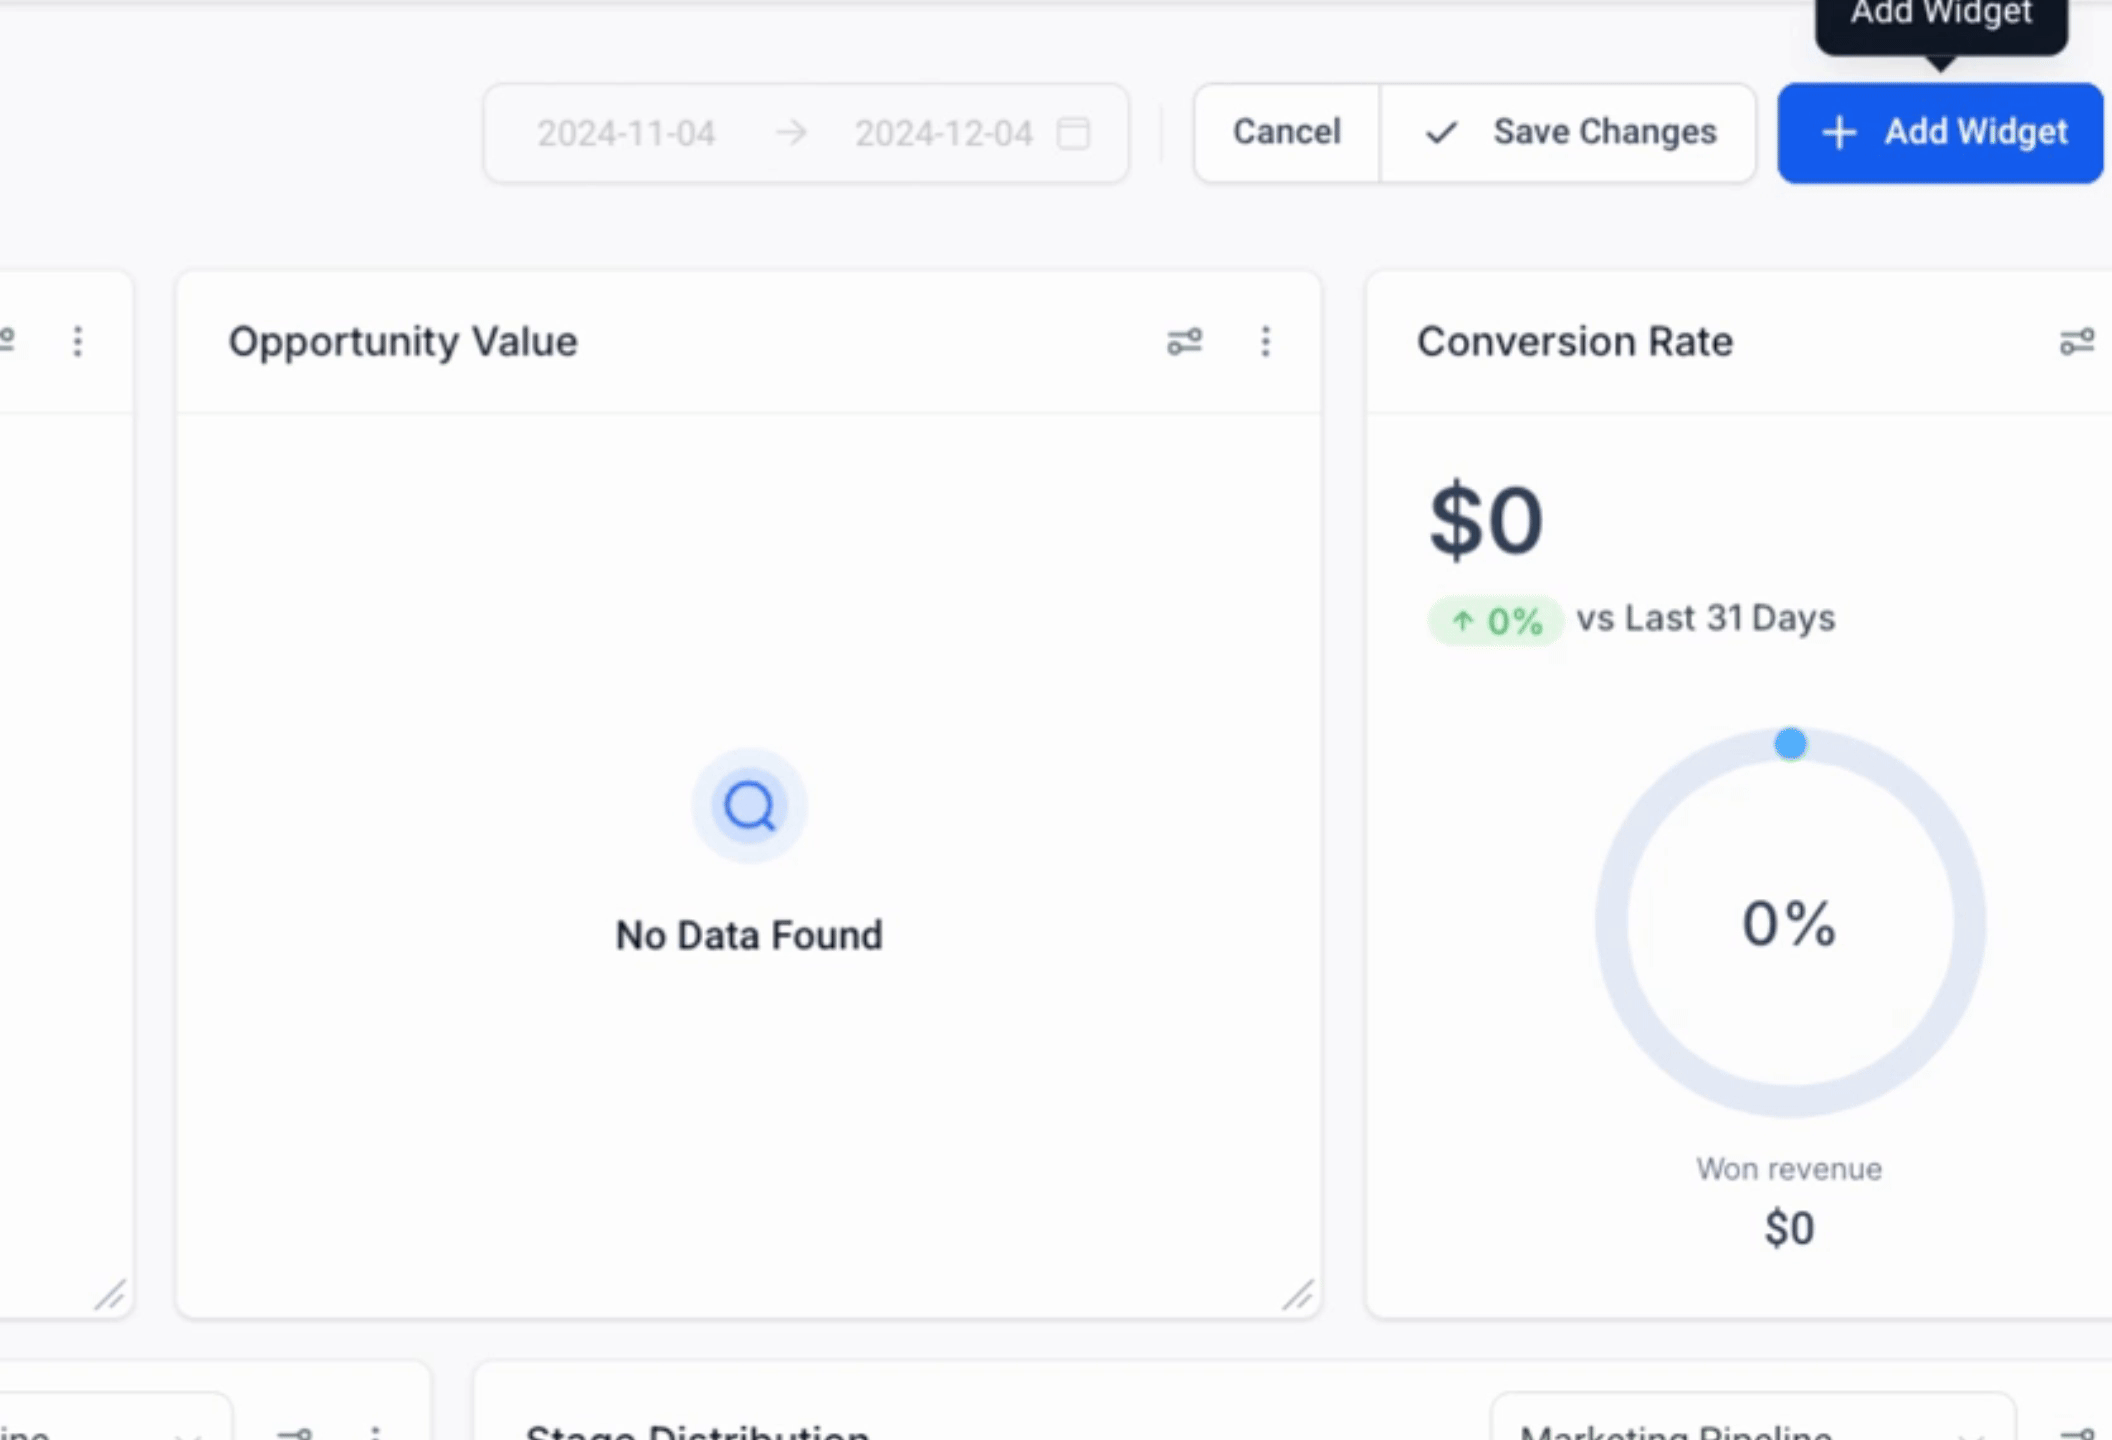
First, navigate to Dashboards and click on Edit.

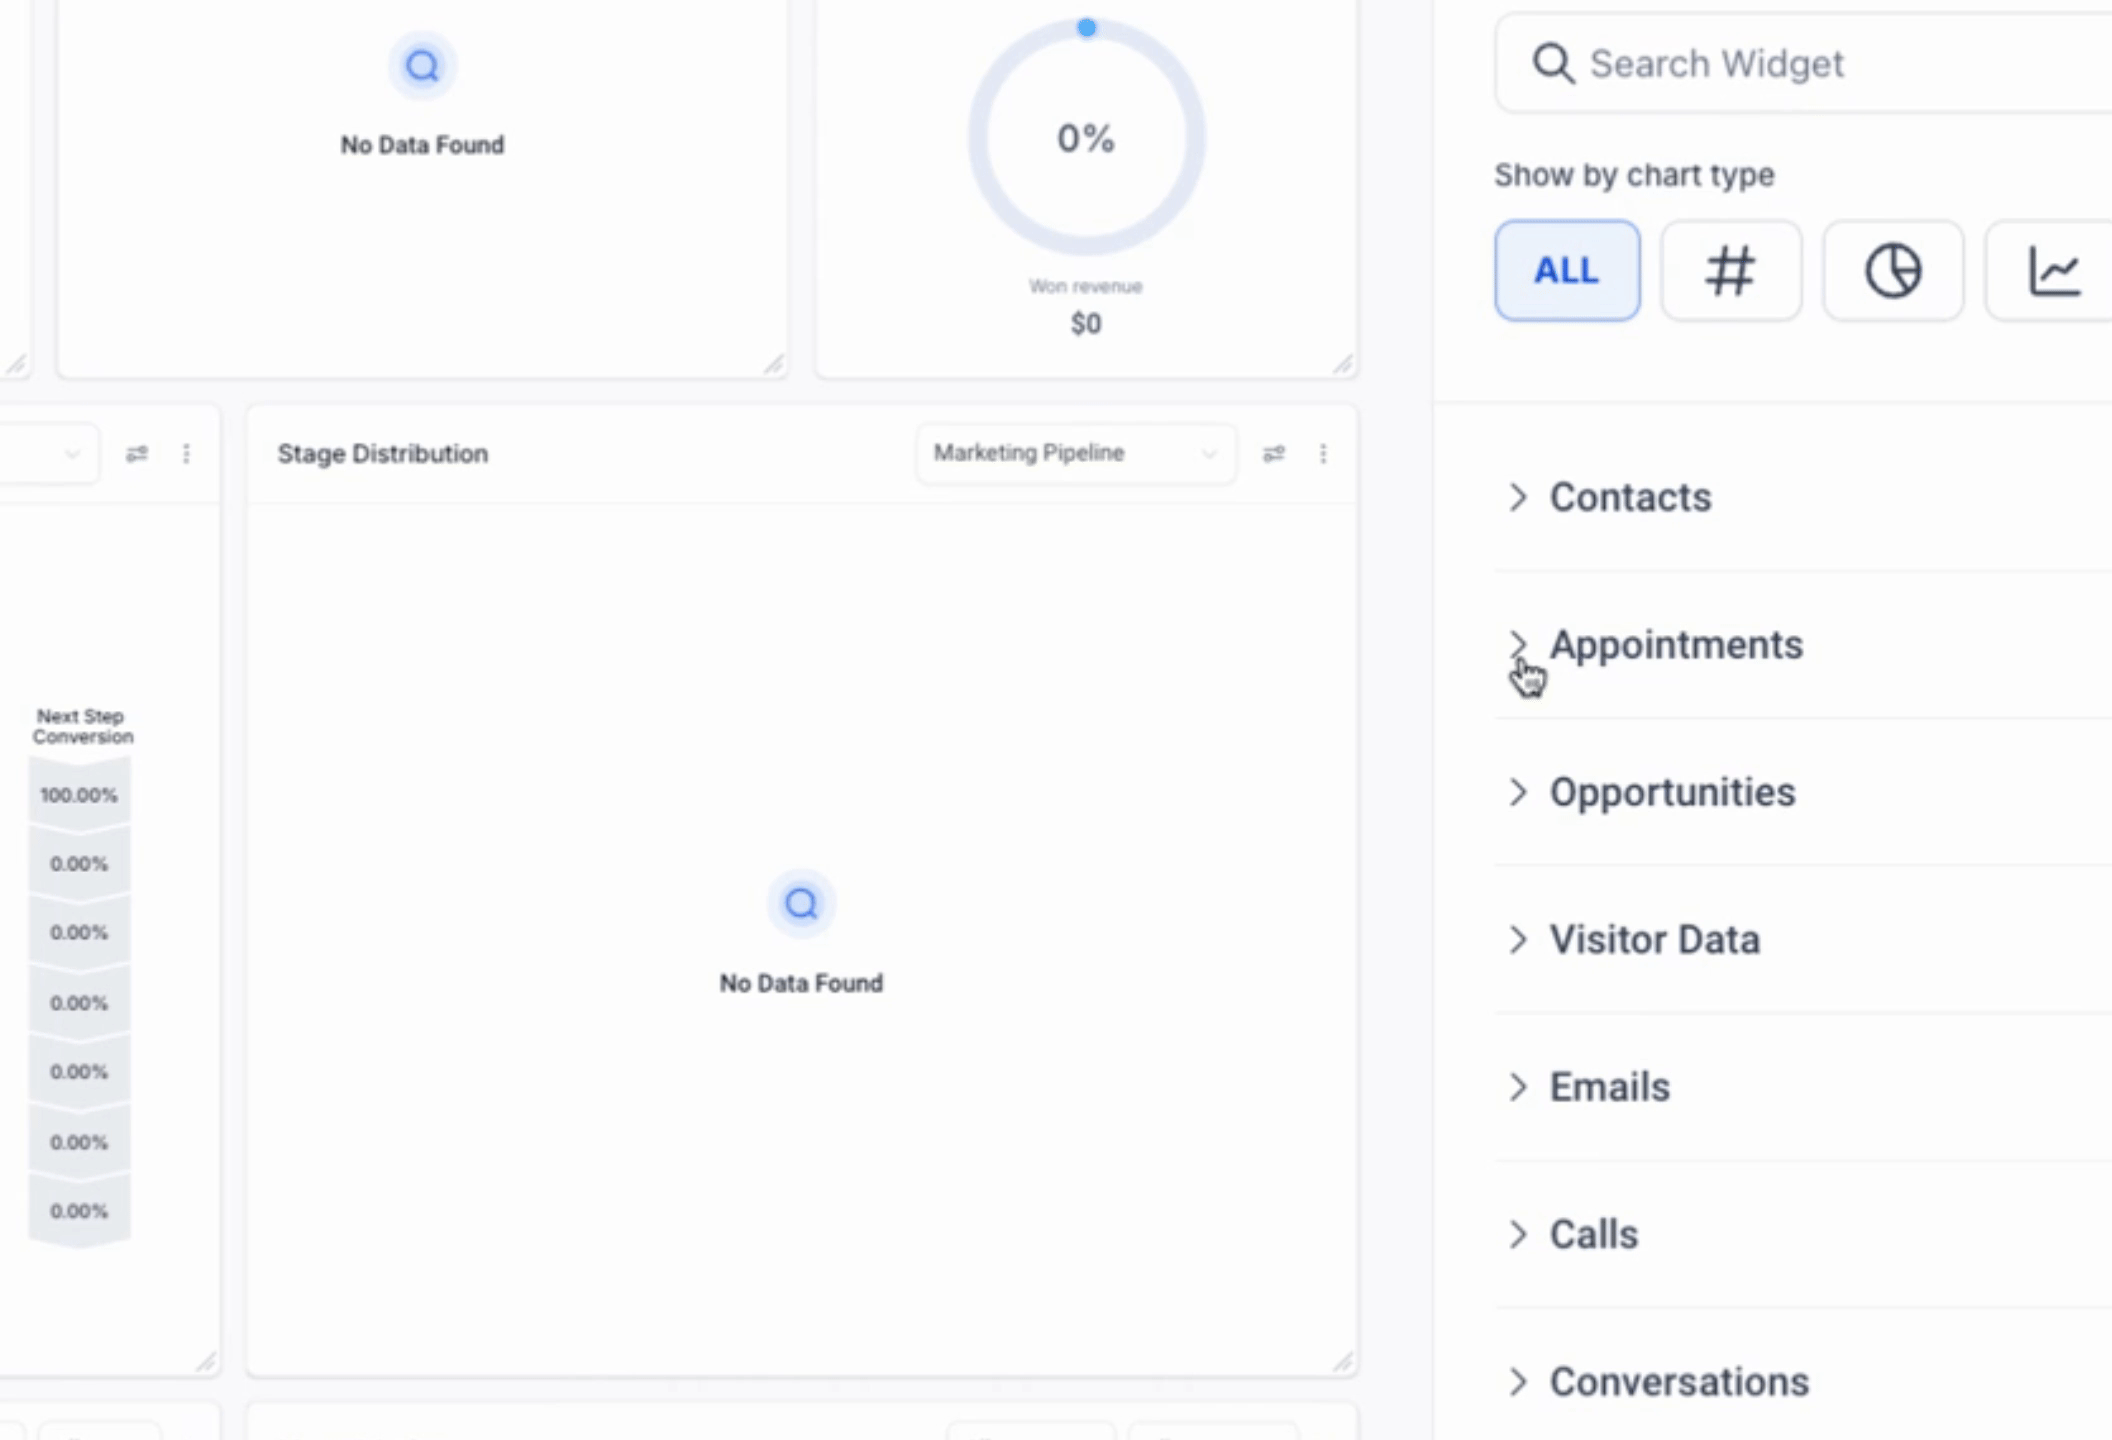
Next, we will add certain widgets. Specifically, we will be adding a total of 10 different widgets.
Setup Each One Of These Widgets
Opportunity Status
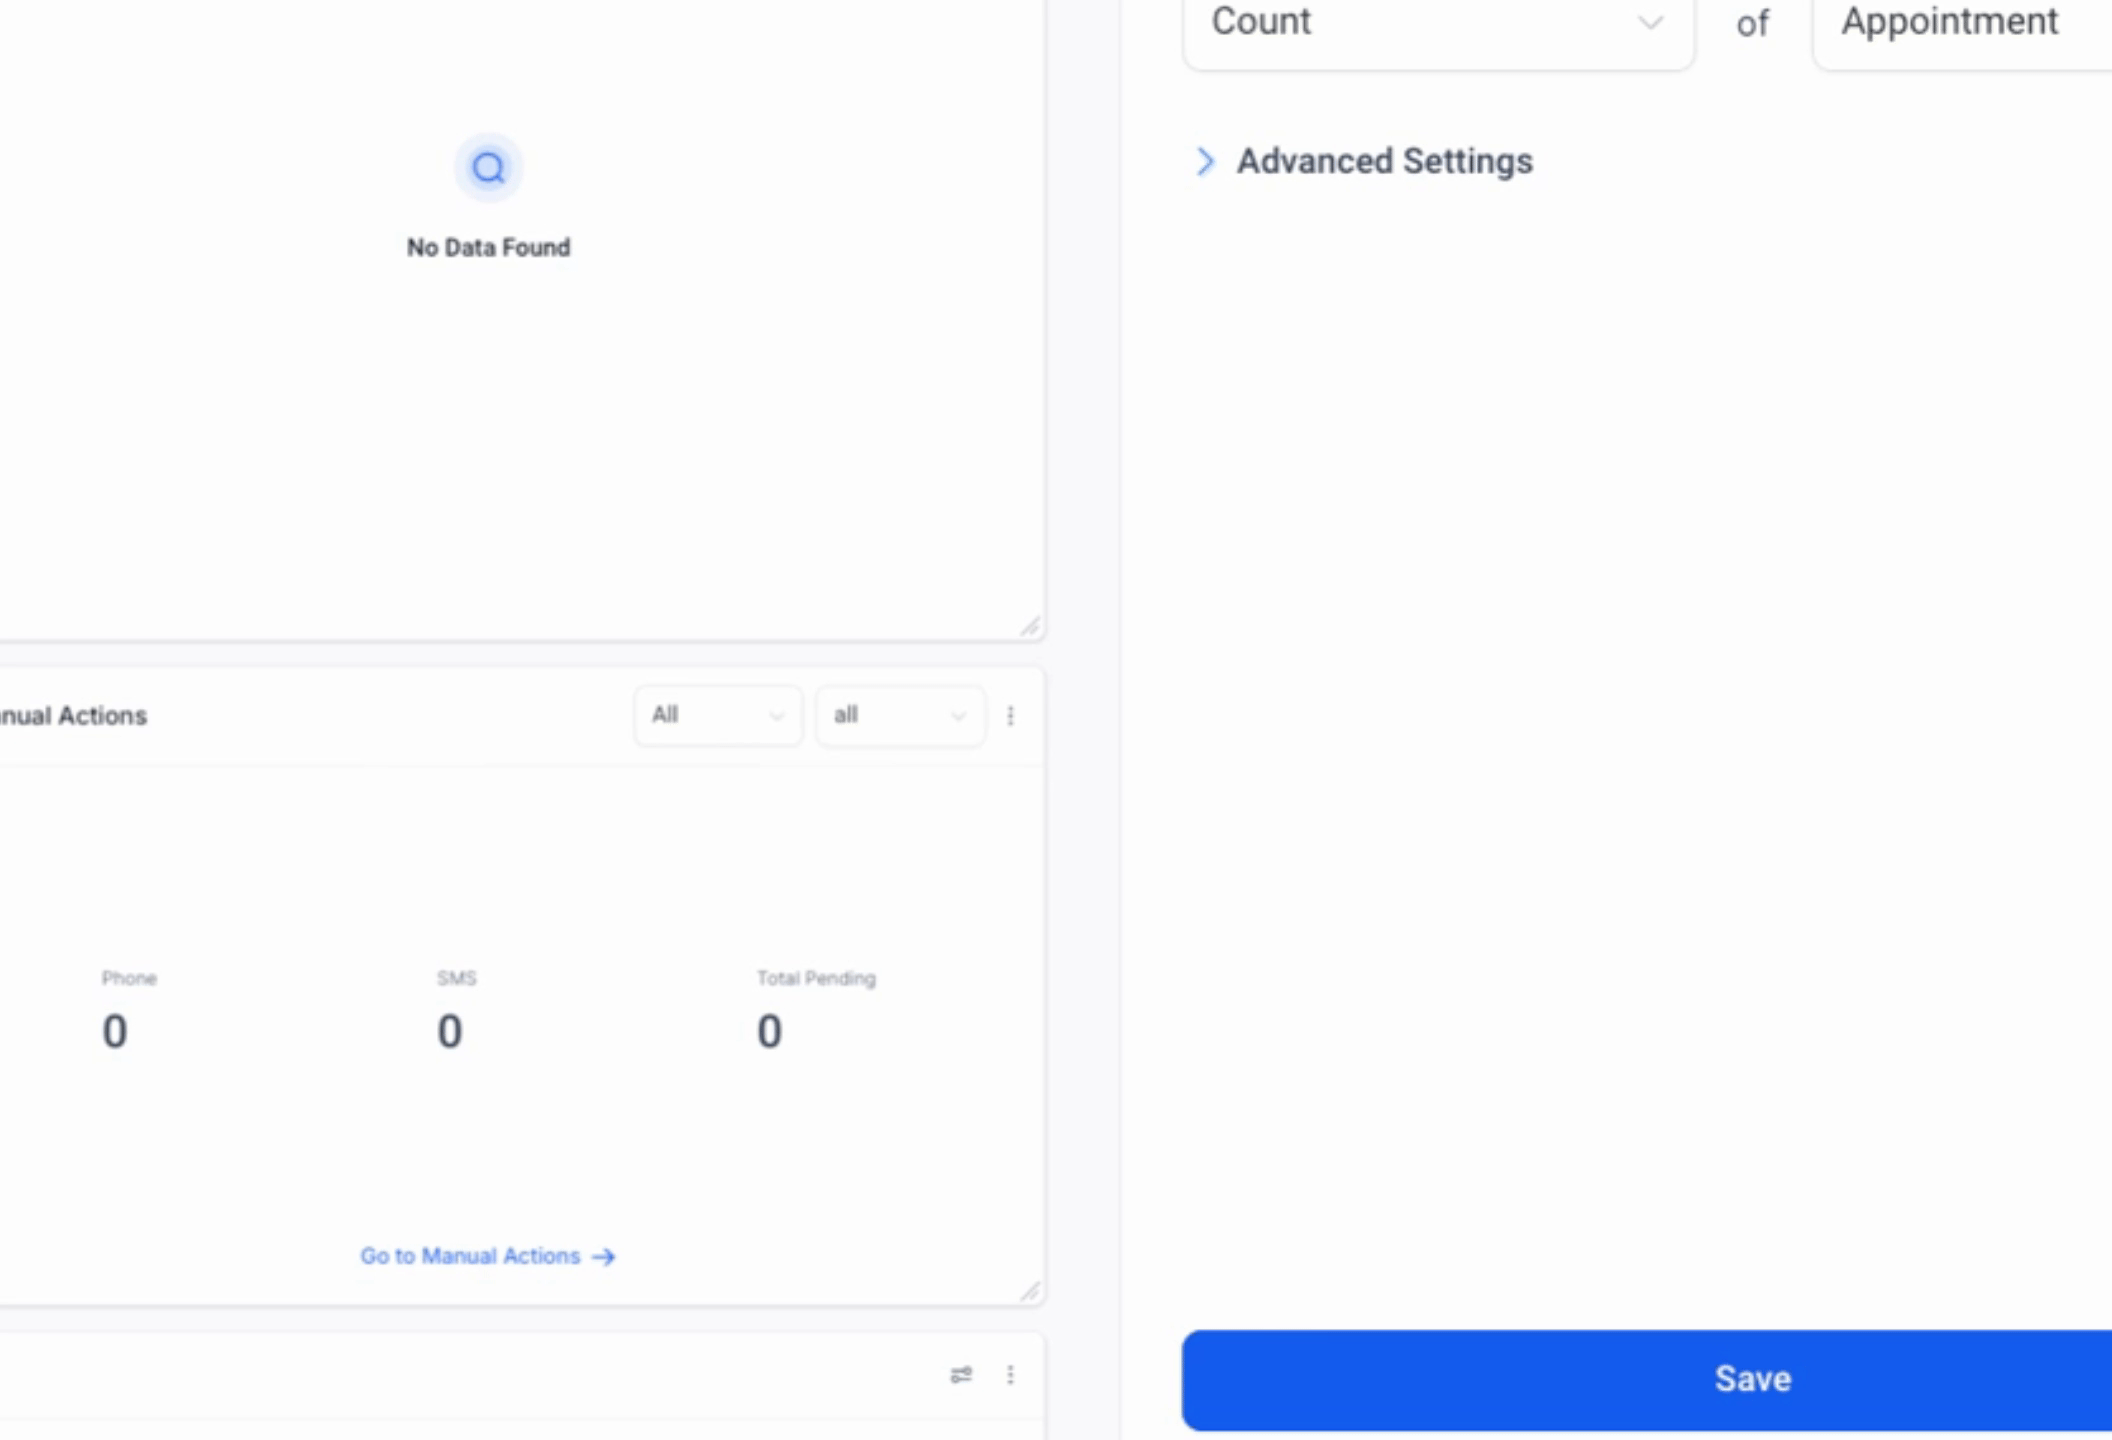
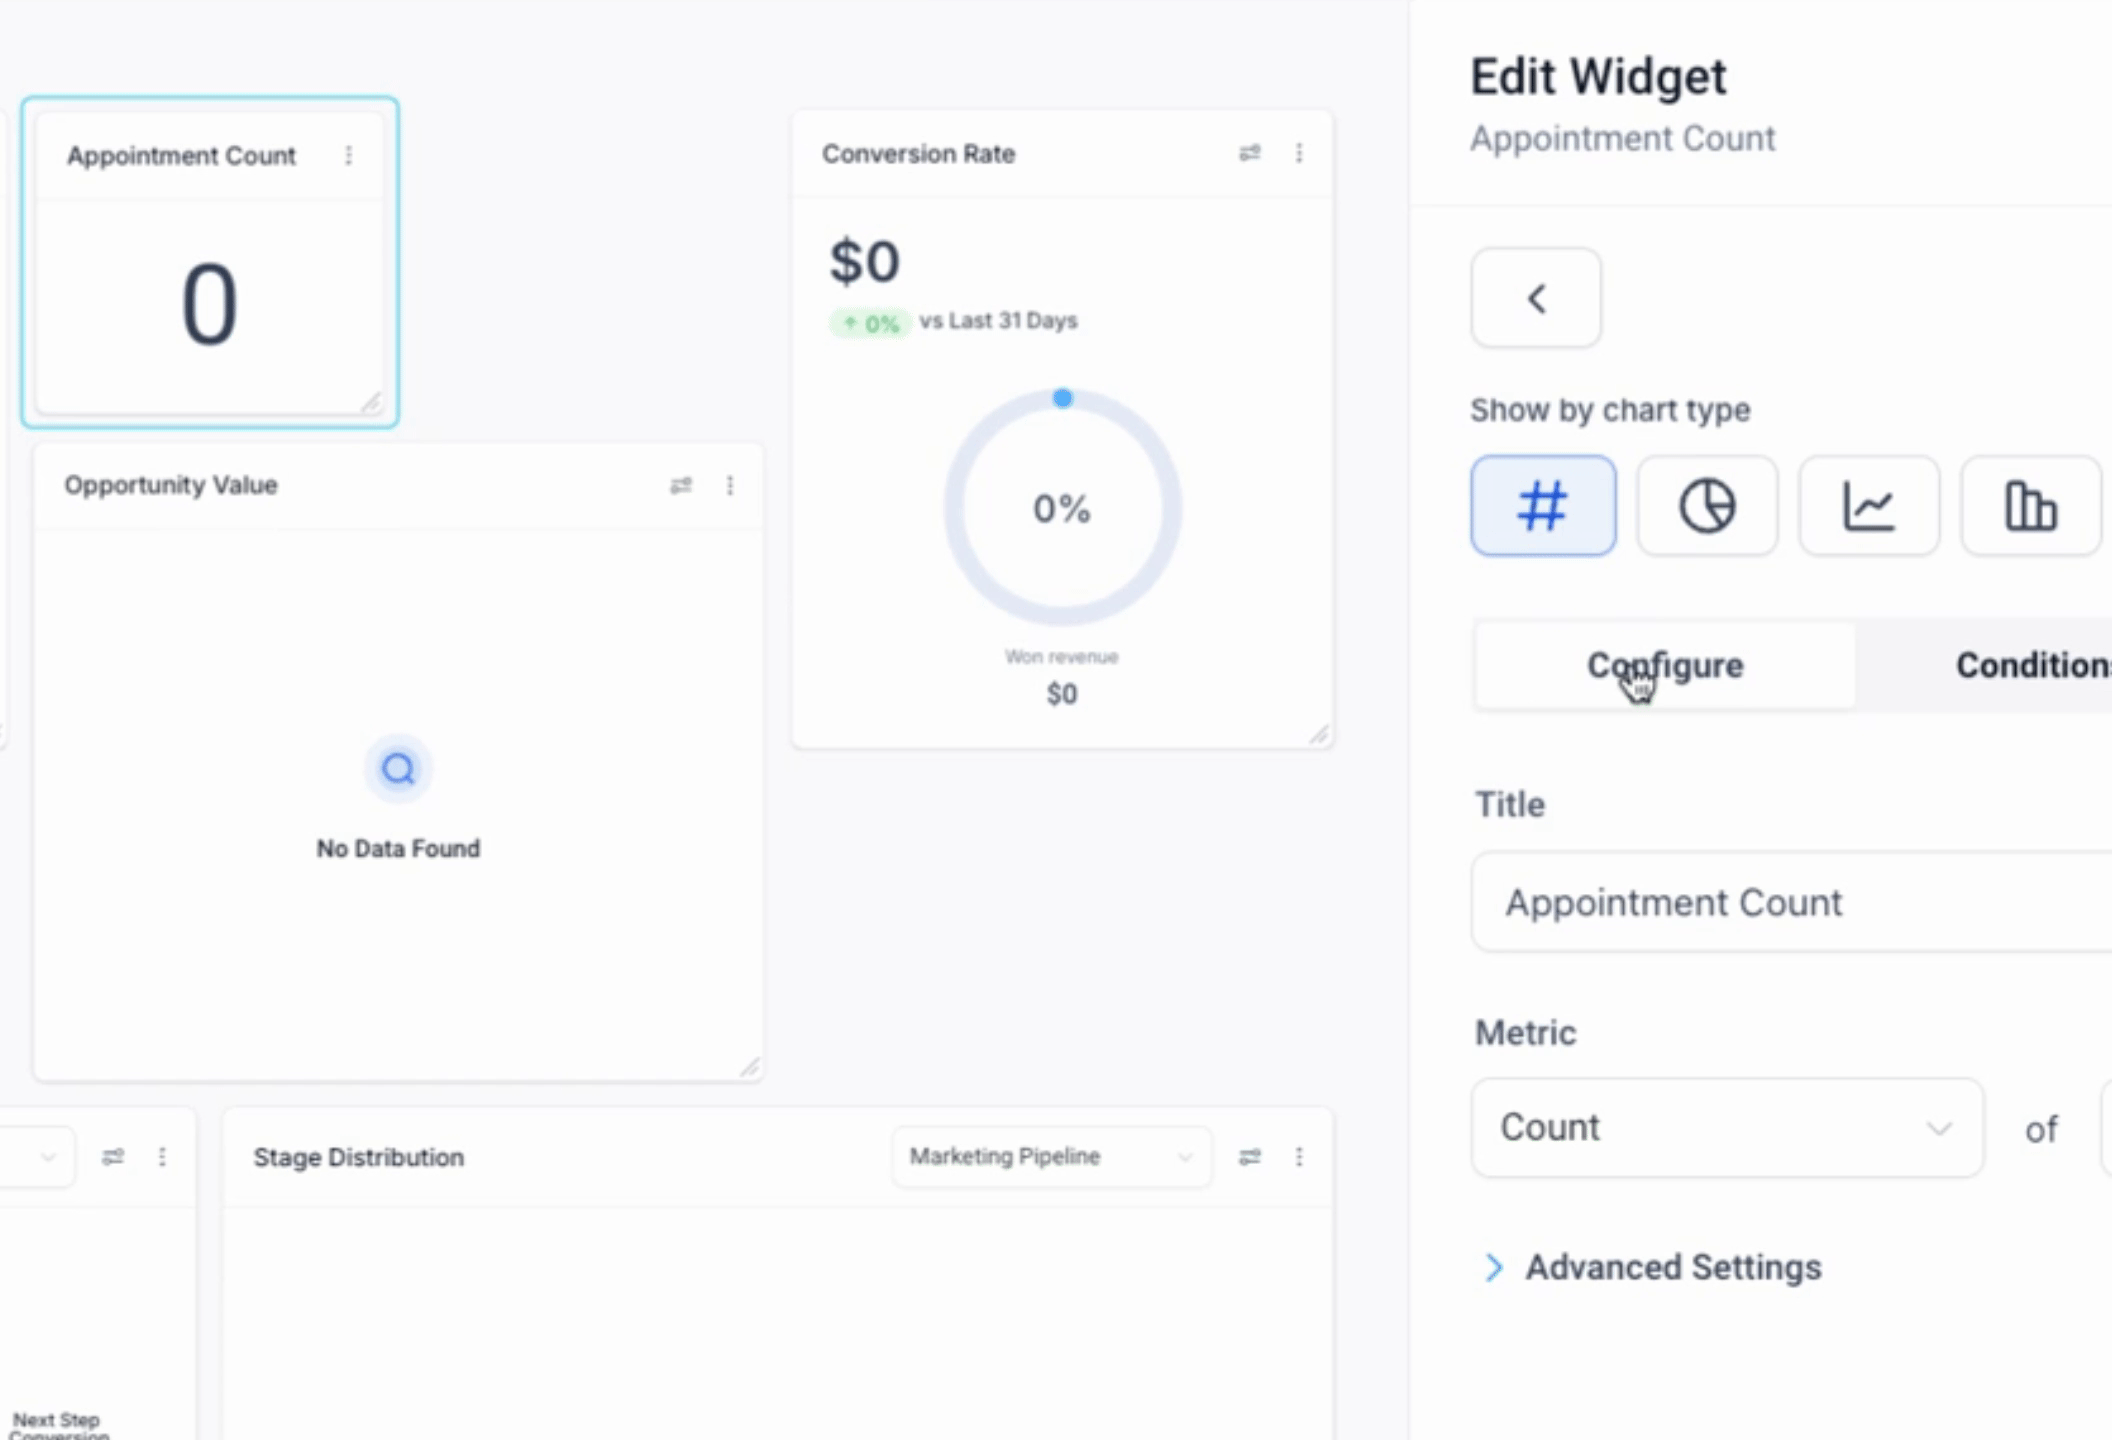
Appointment Count
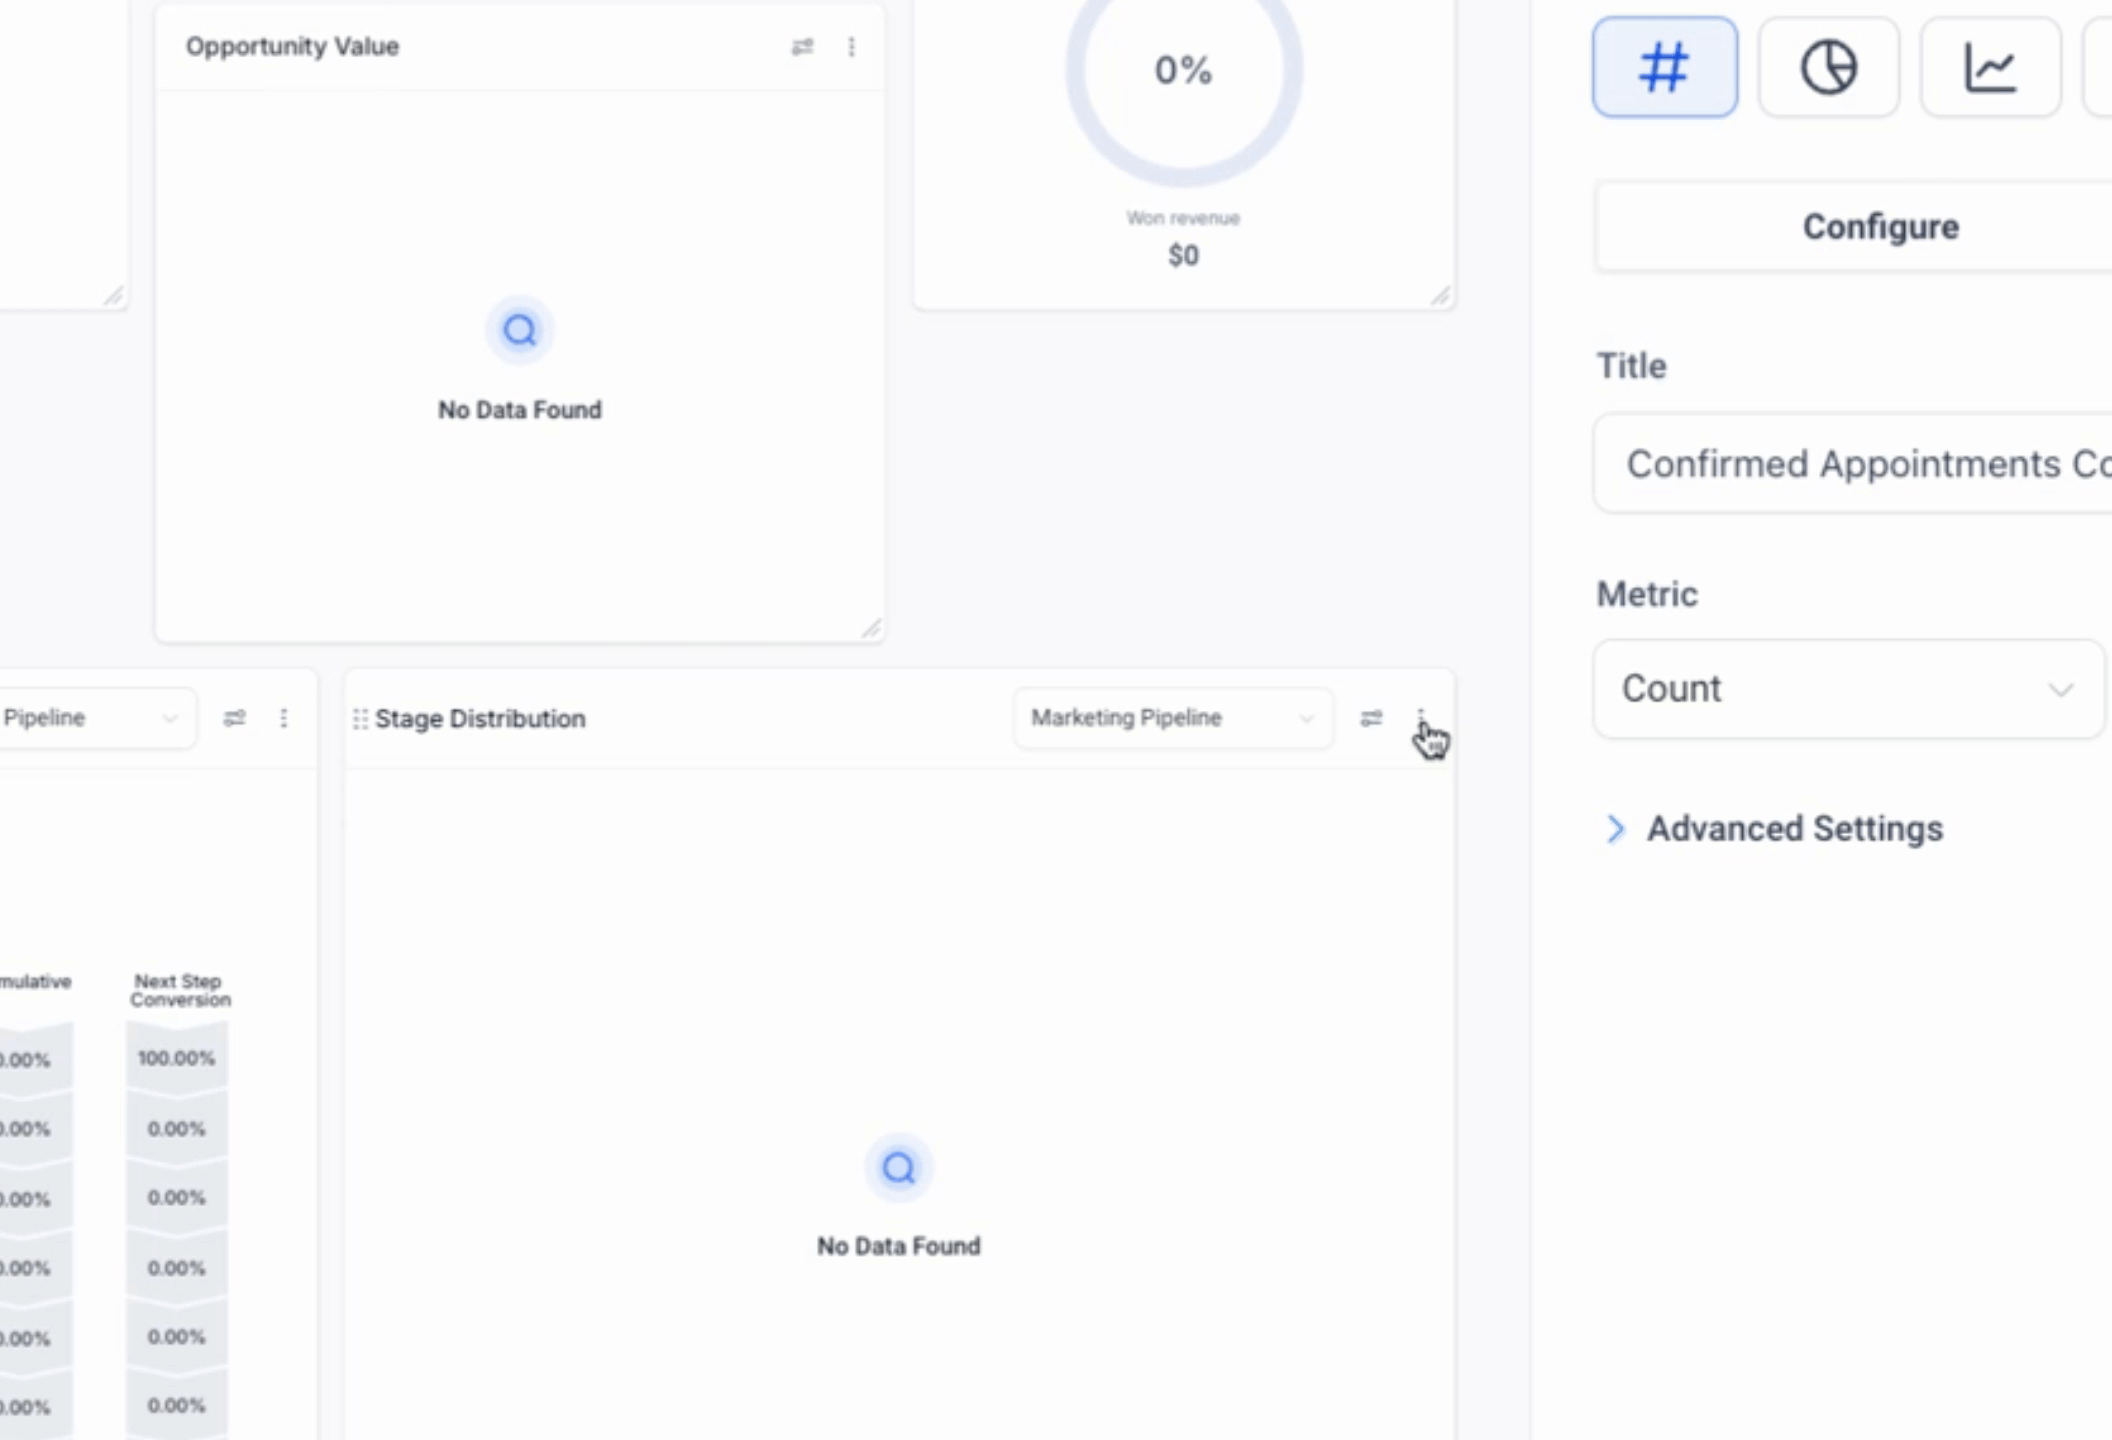
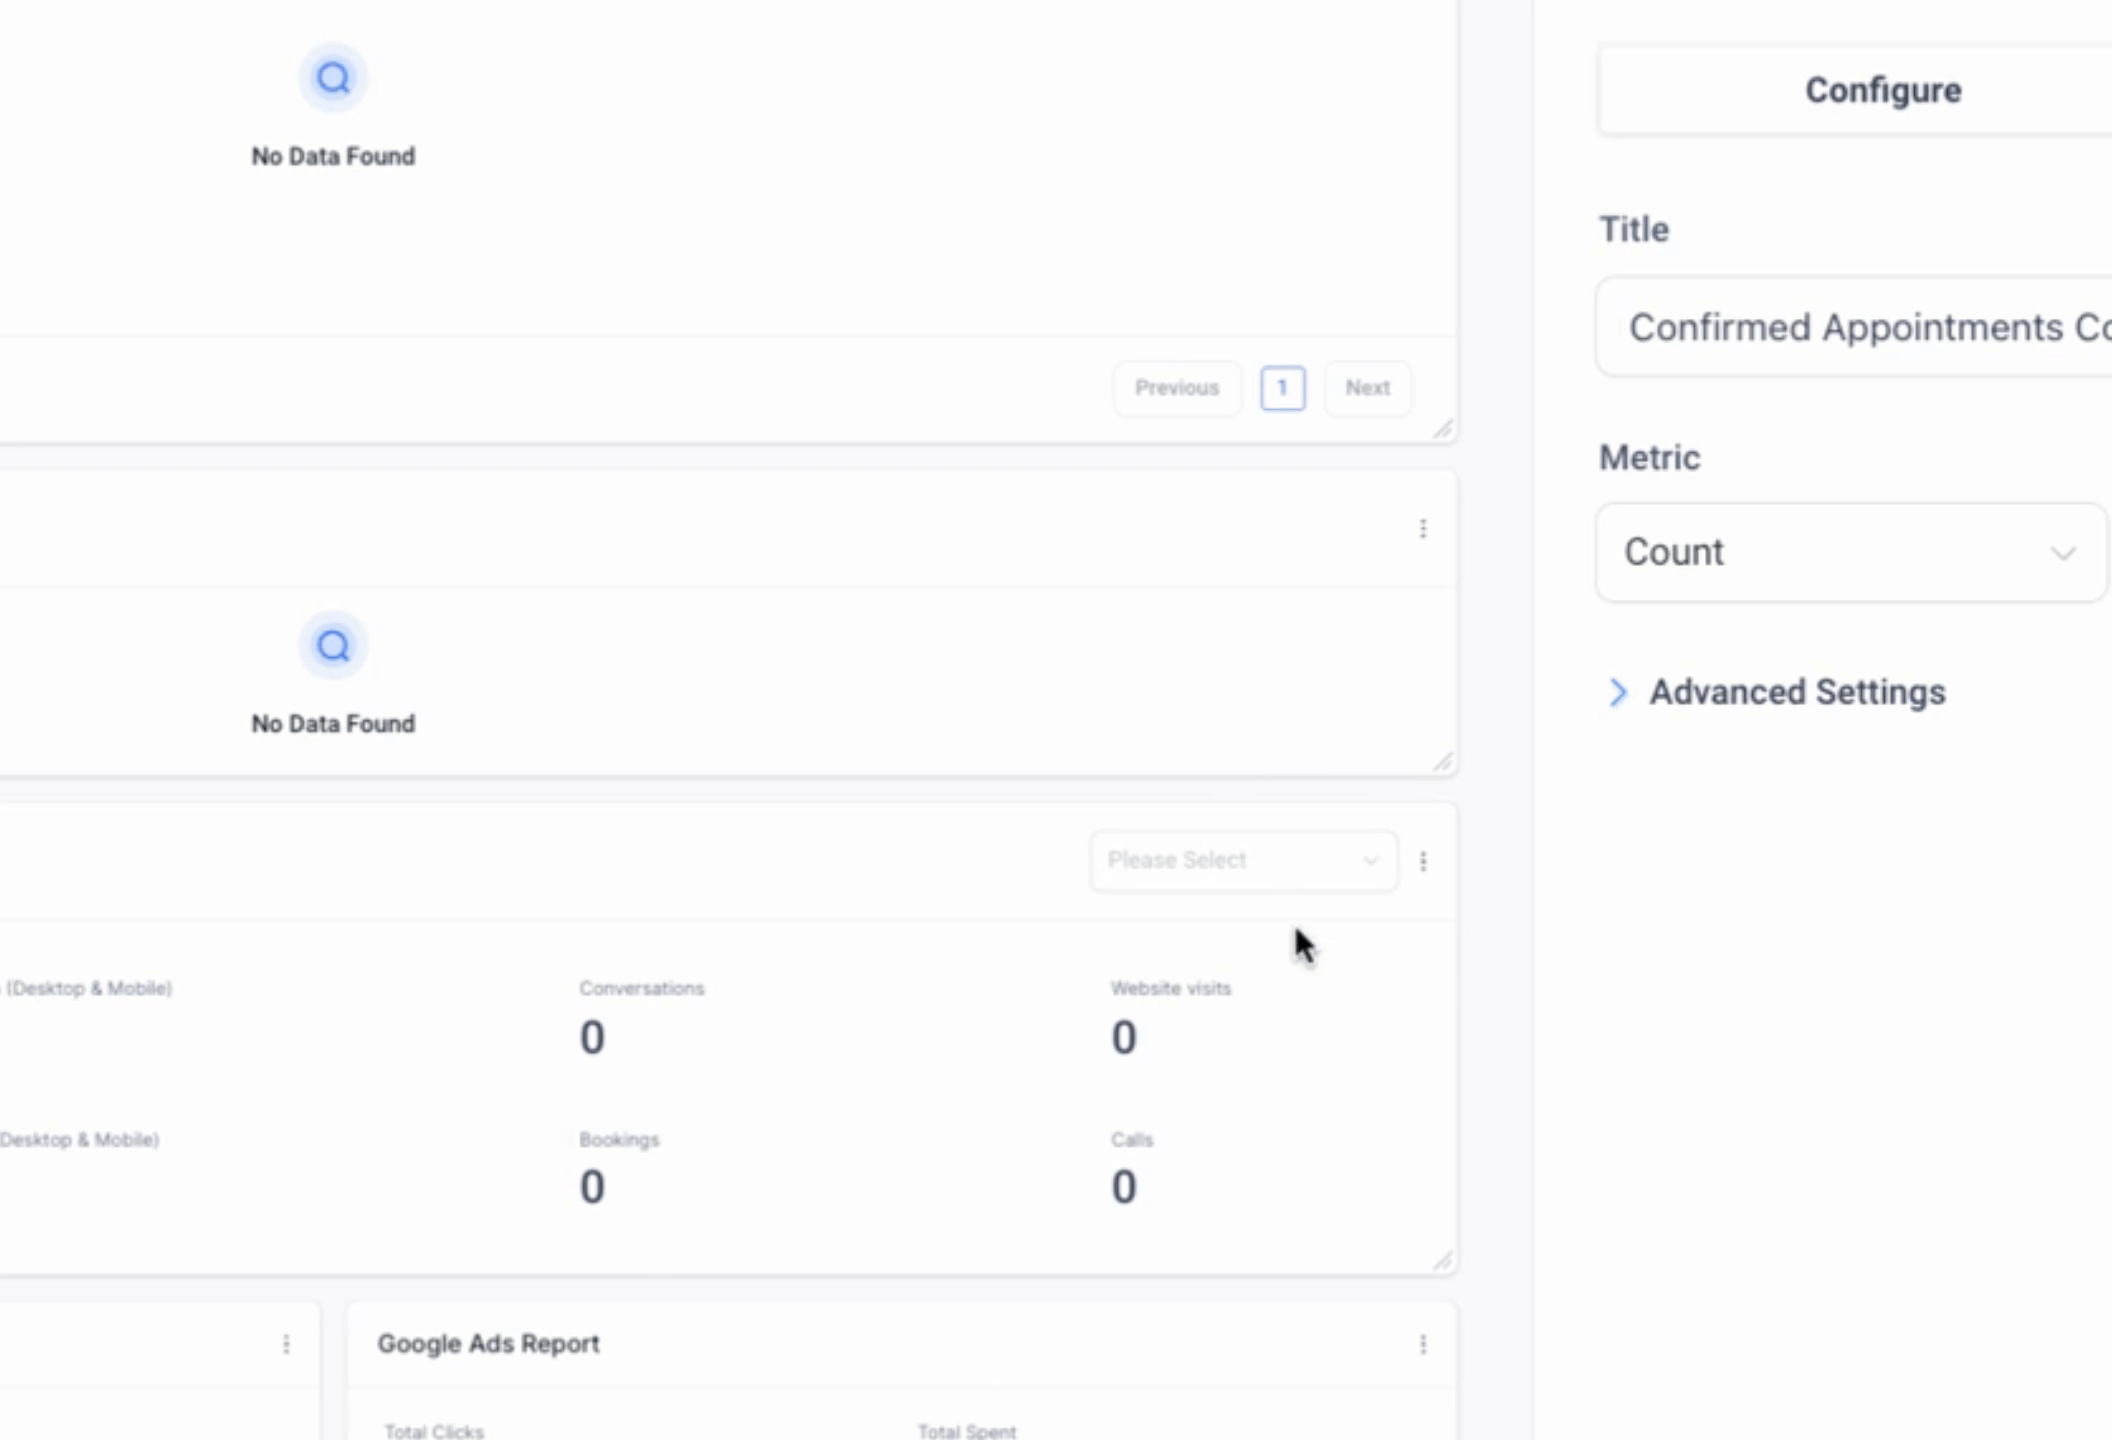
#Confirmed Appointments
Conversion rate
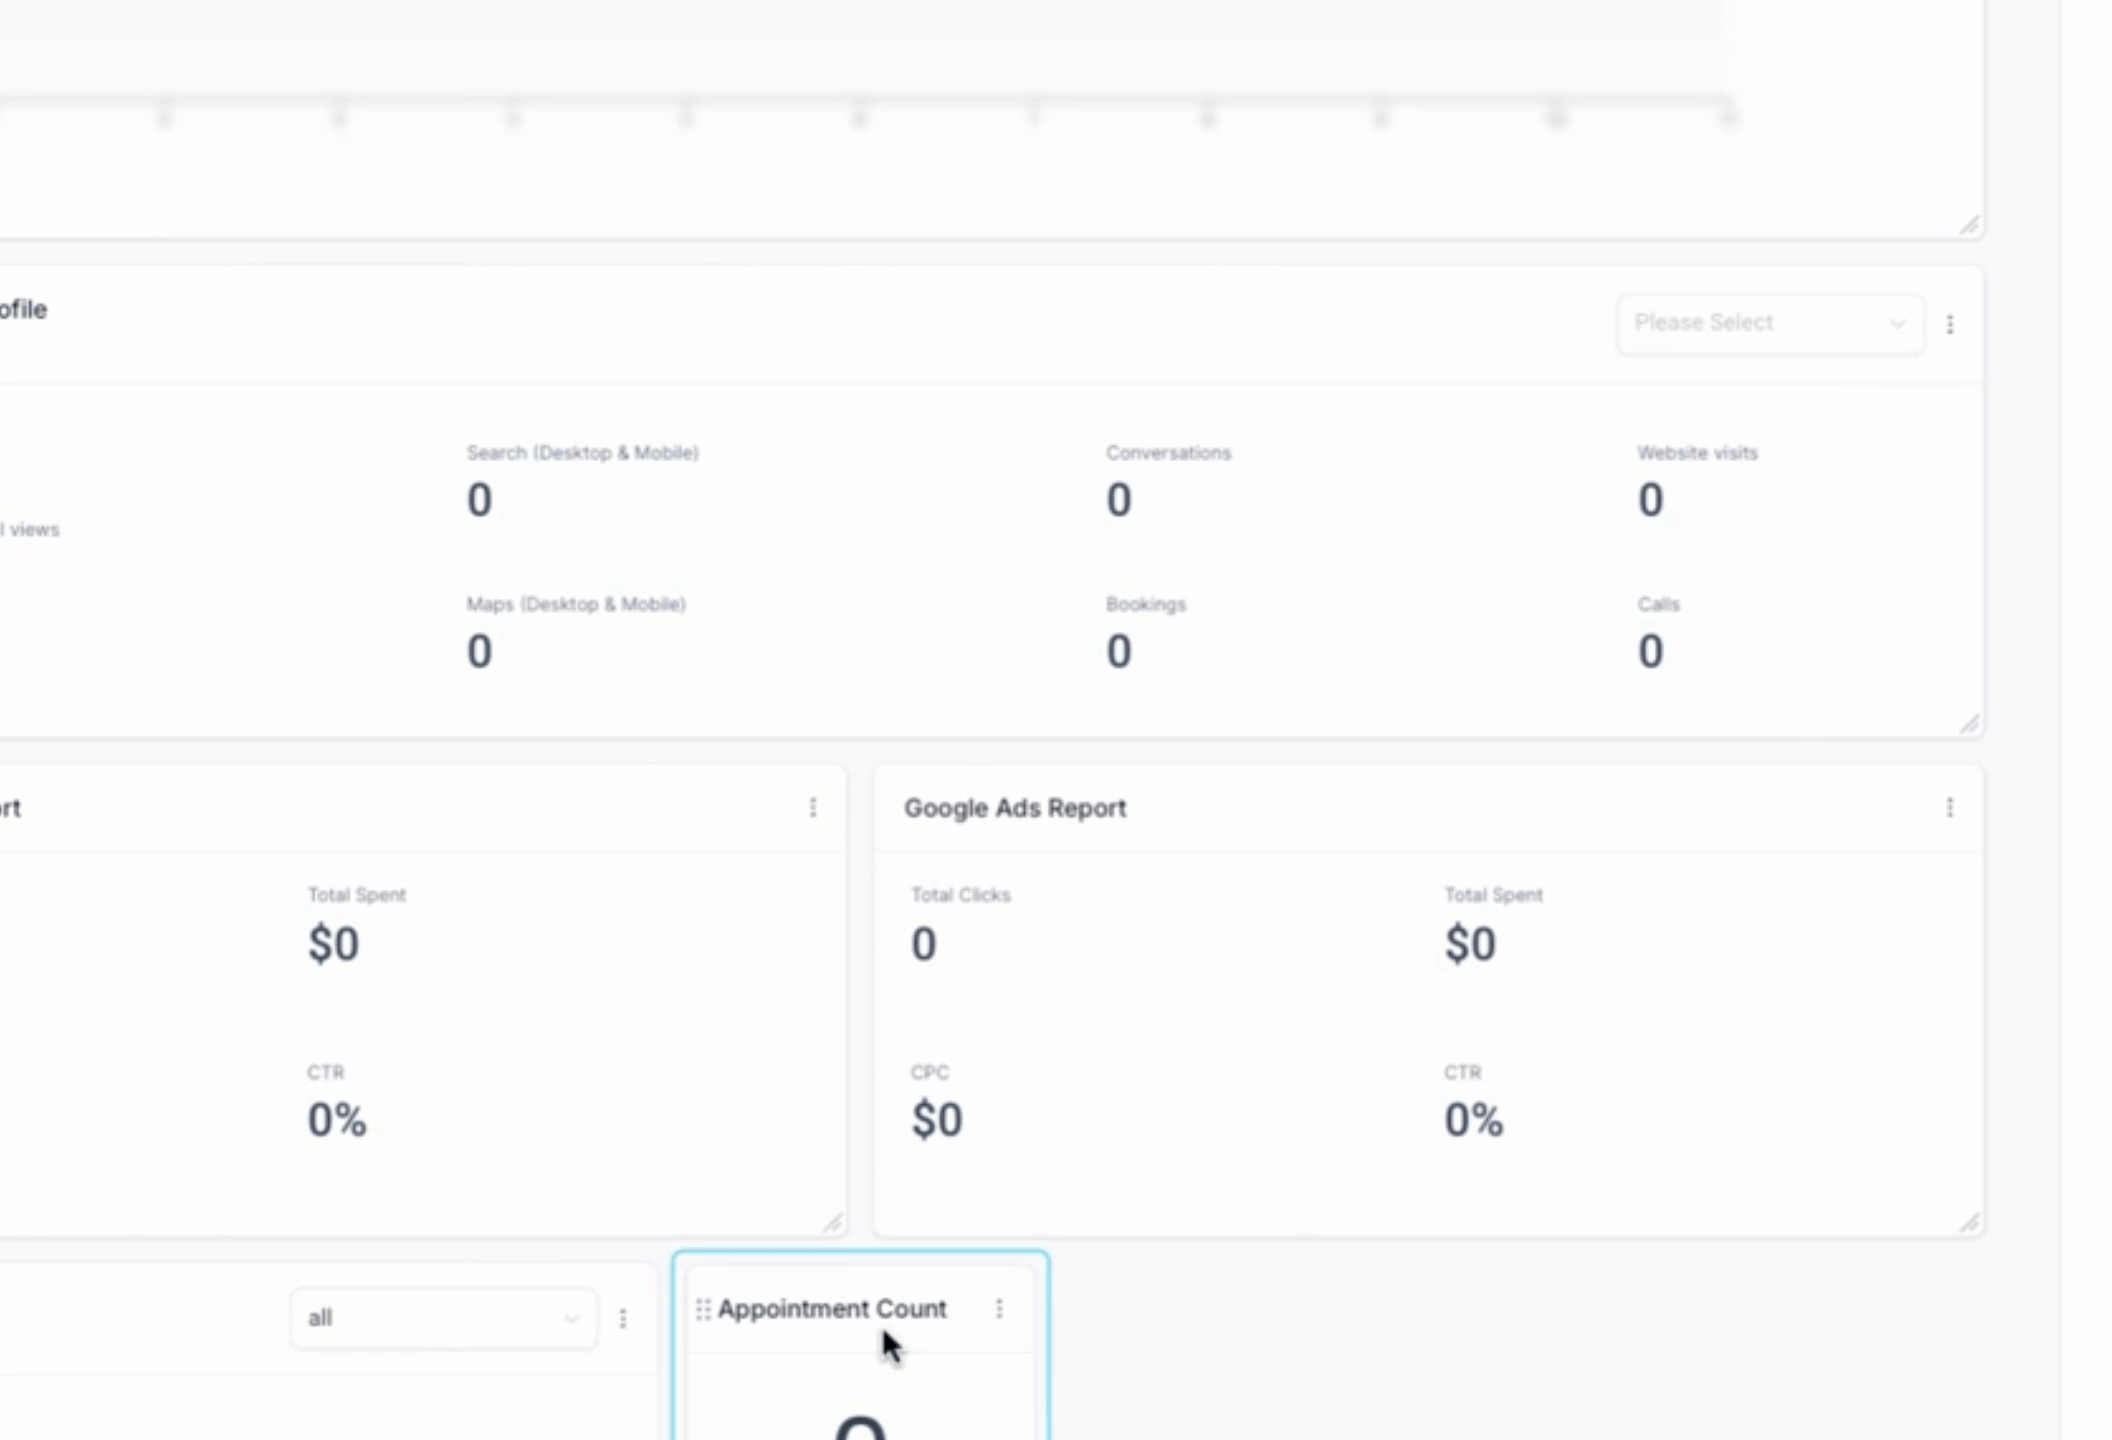
Facebook Ads Report
Lead Source report
Google Analytics Report
Stage Distribution
Google Ads Reports
One of the widgets to add is Opportunity Status, and another is Appointment Count.
To begin, go to Appointments and ensure that Appointment Count is set up and configured appropriately.
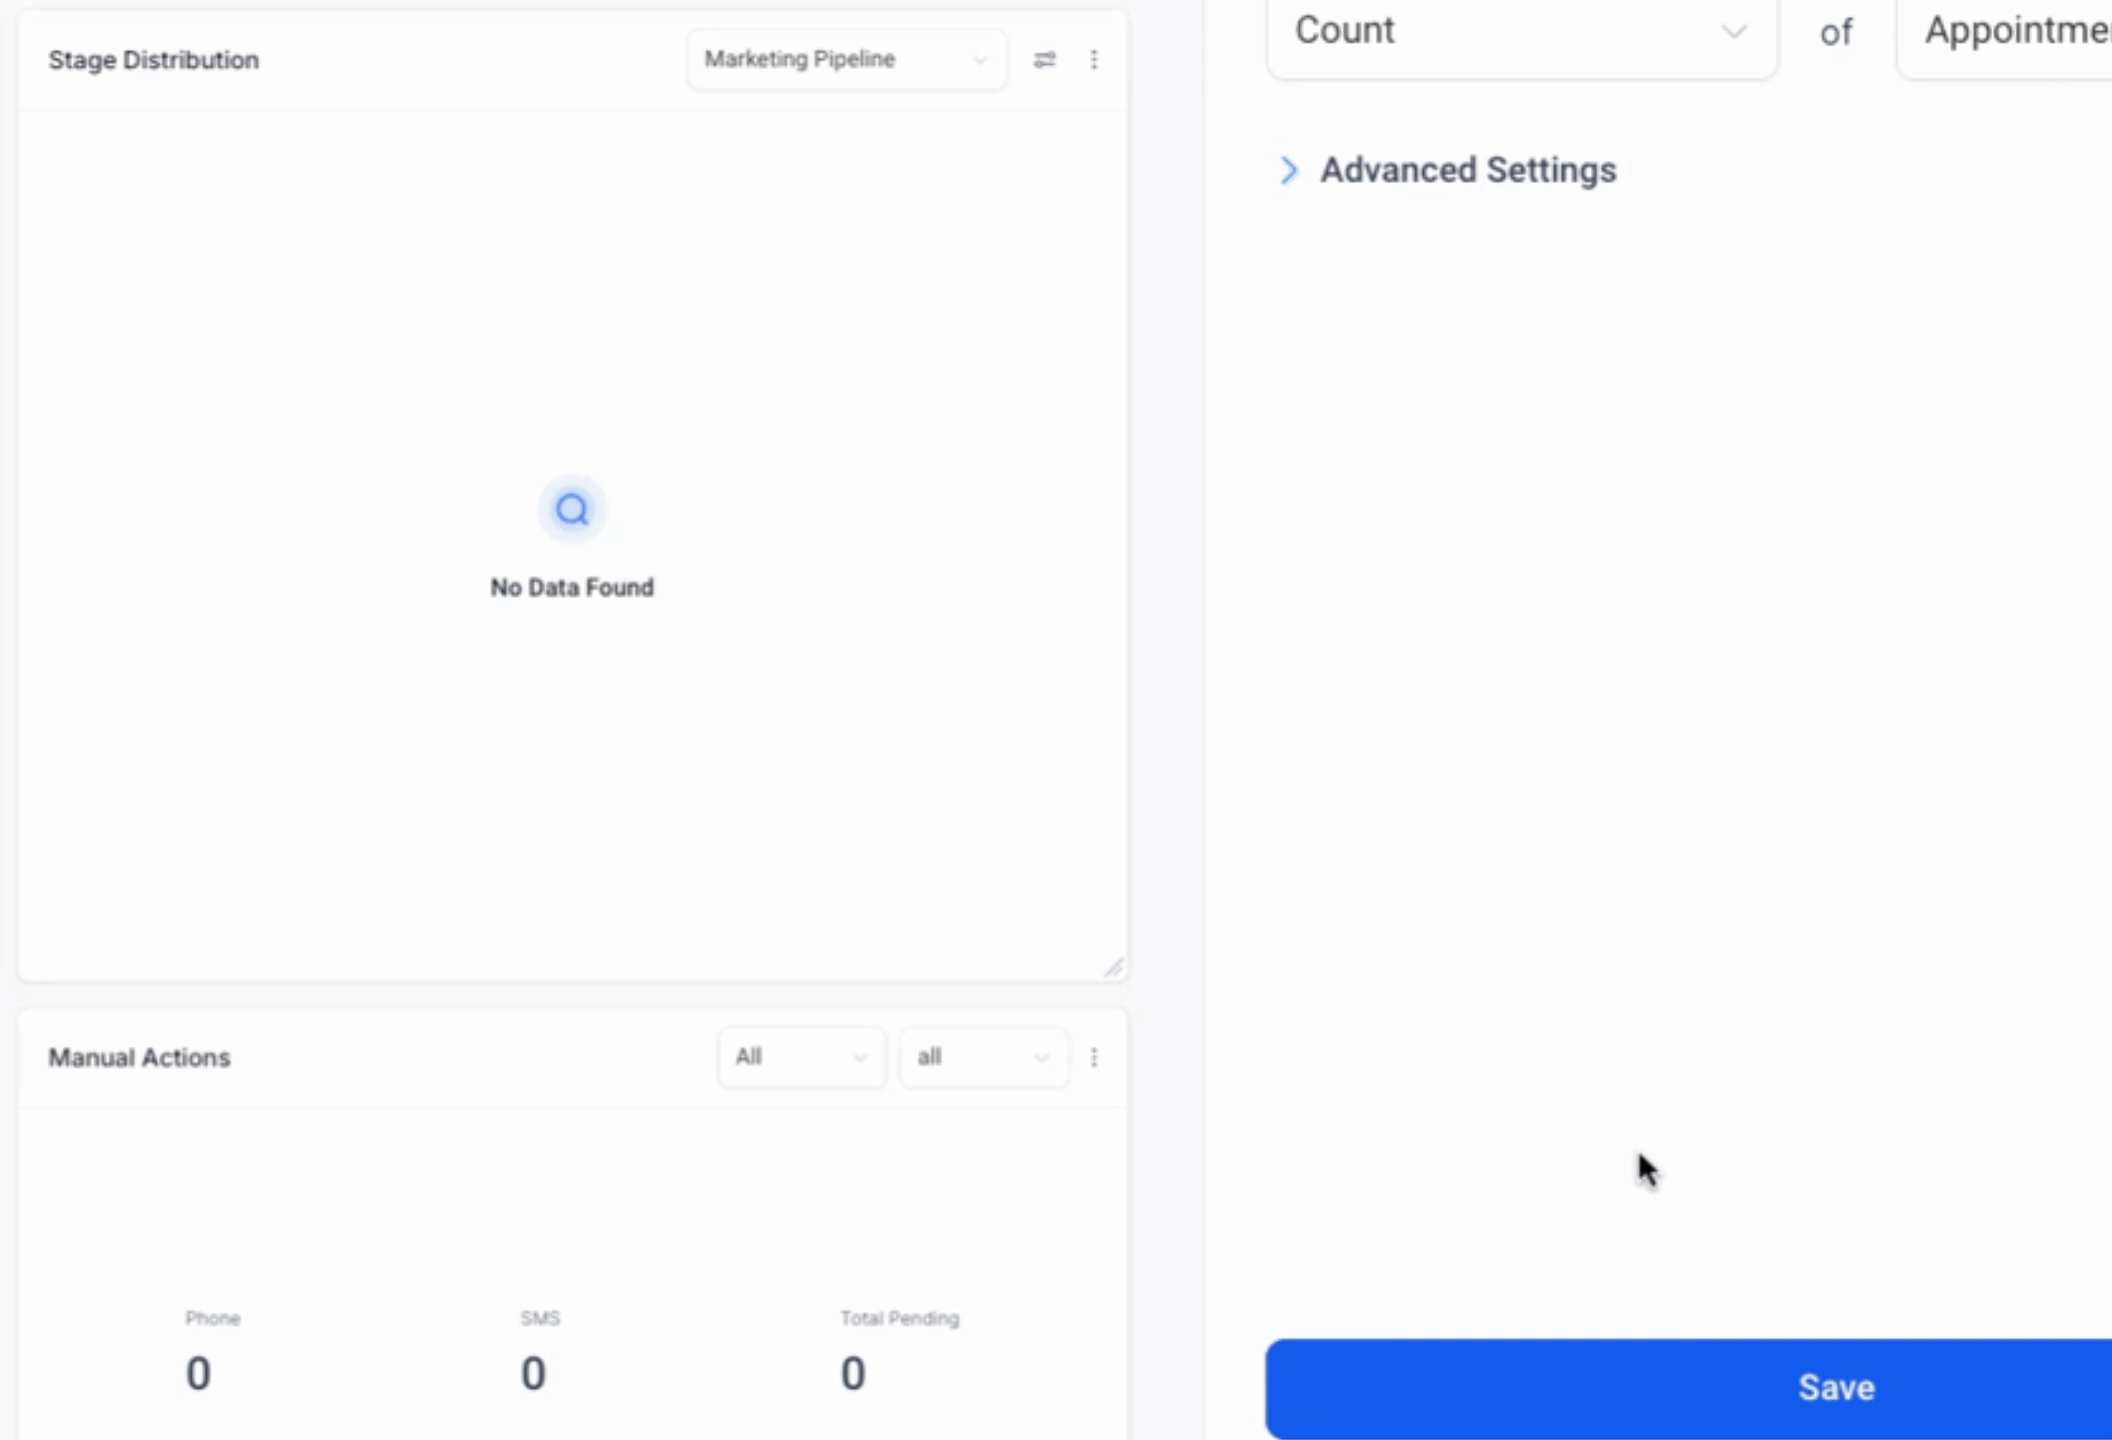
Once configured, click on Save.
Next, drag Appointment Count to the top of the dashboard.
This positioning is crucial as our customers want to see their appointments at the forefront of their dashboard.
We will now return to Appointments and select Confirmed Appointment Count.
Afterwards, click Save again.
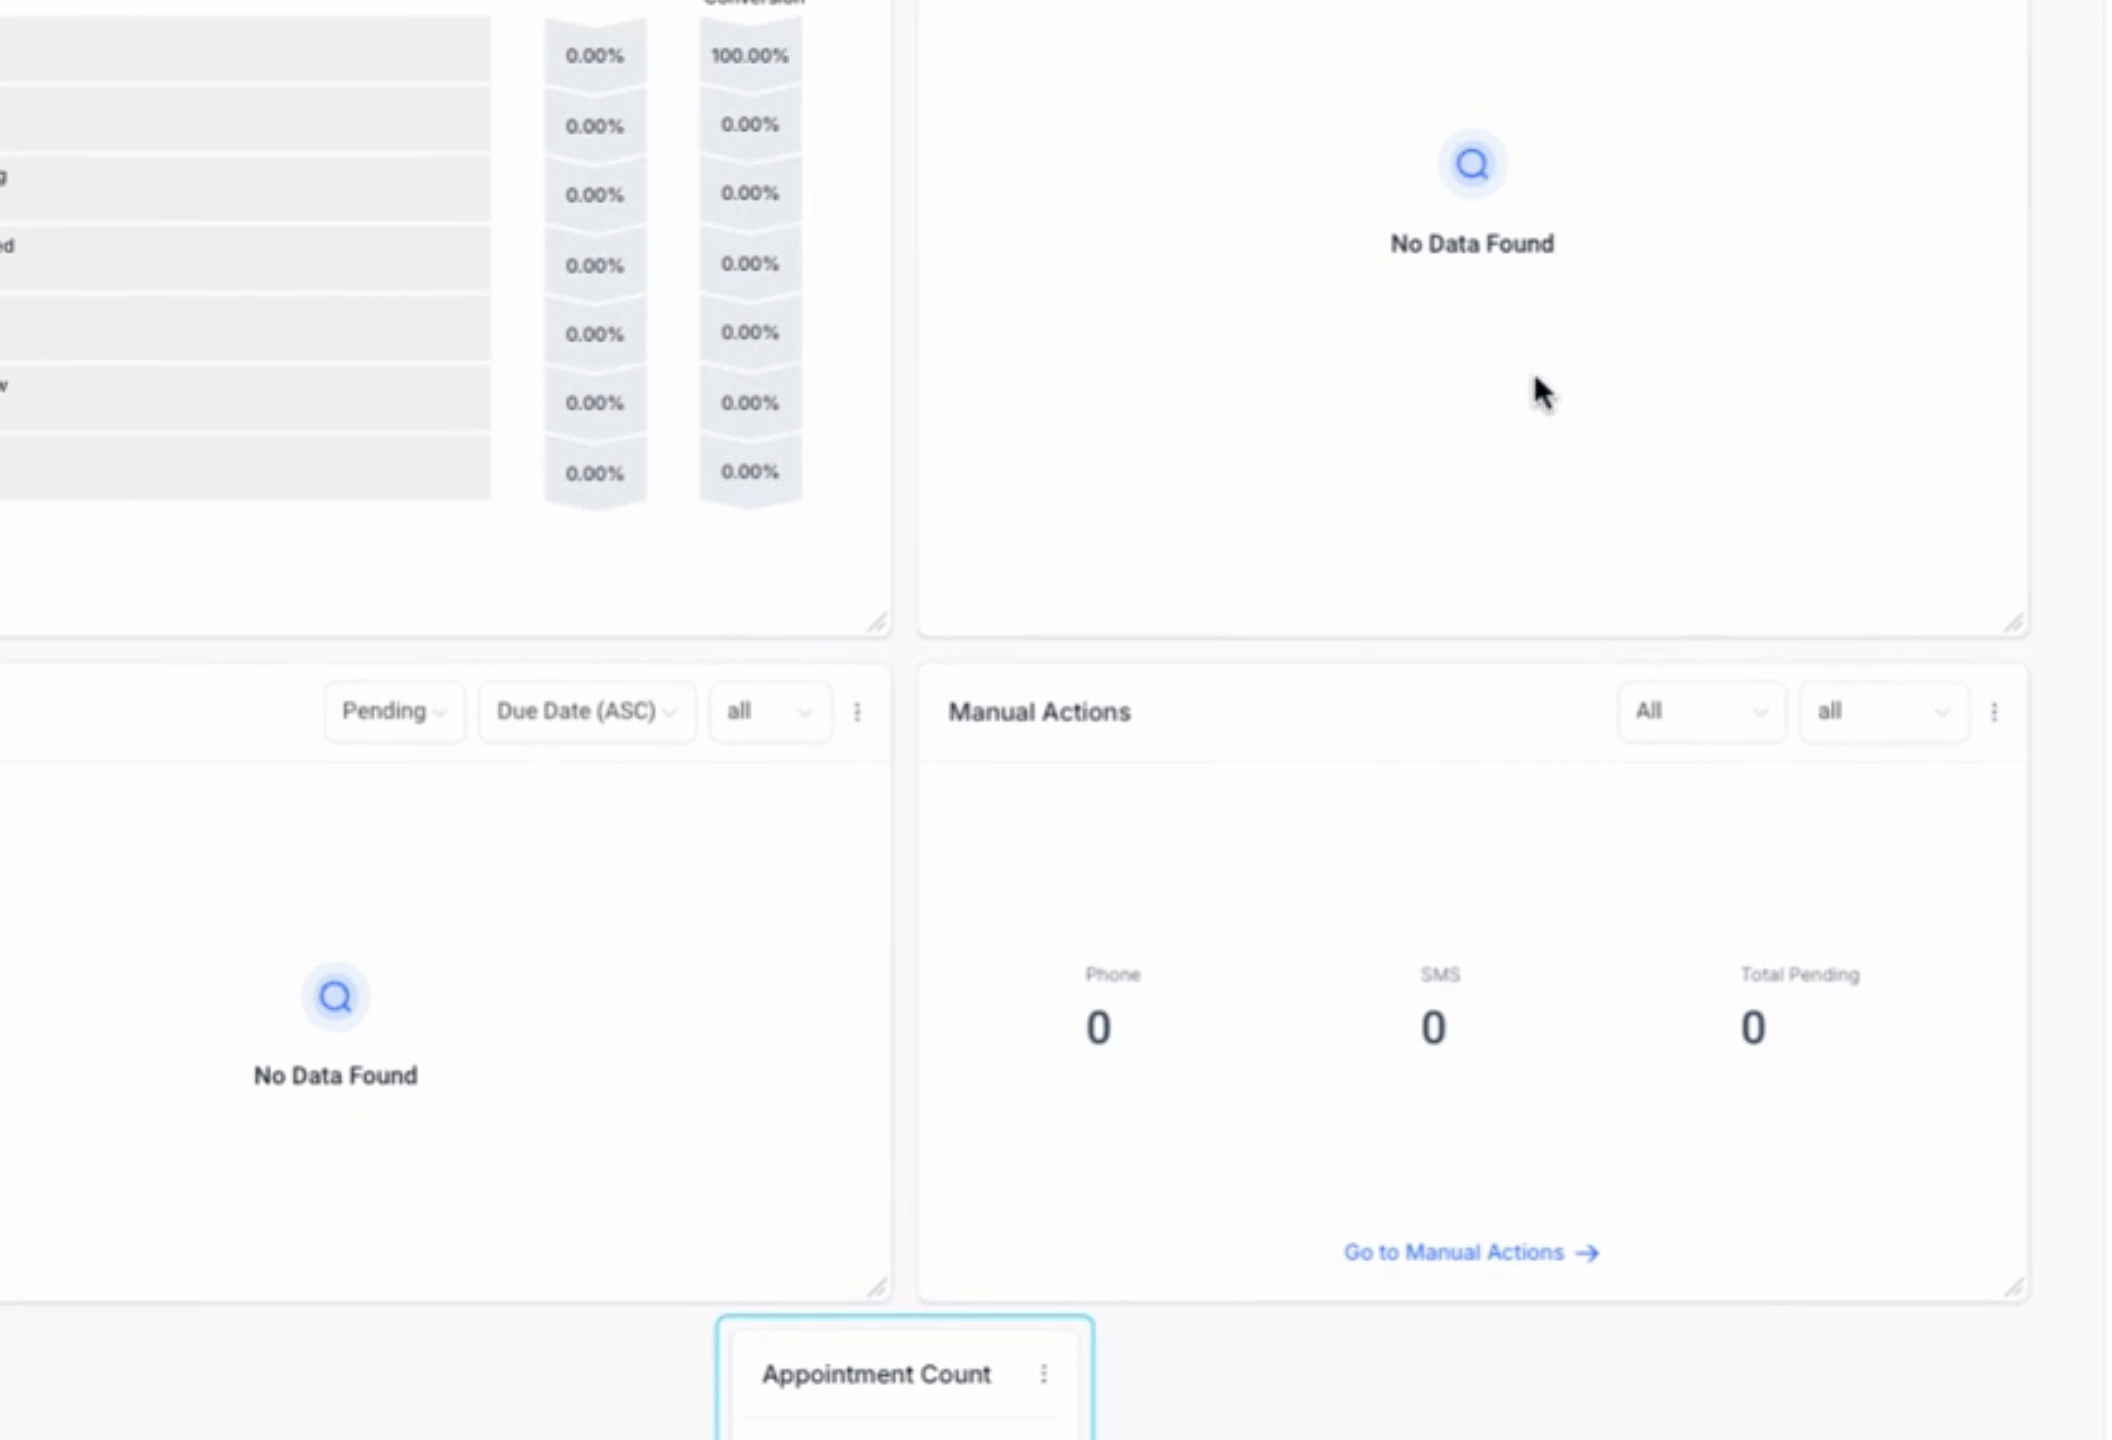
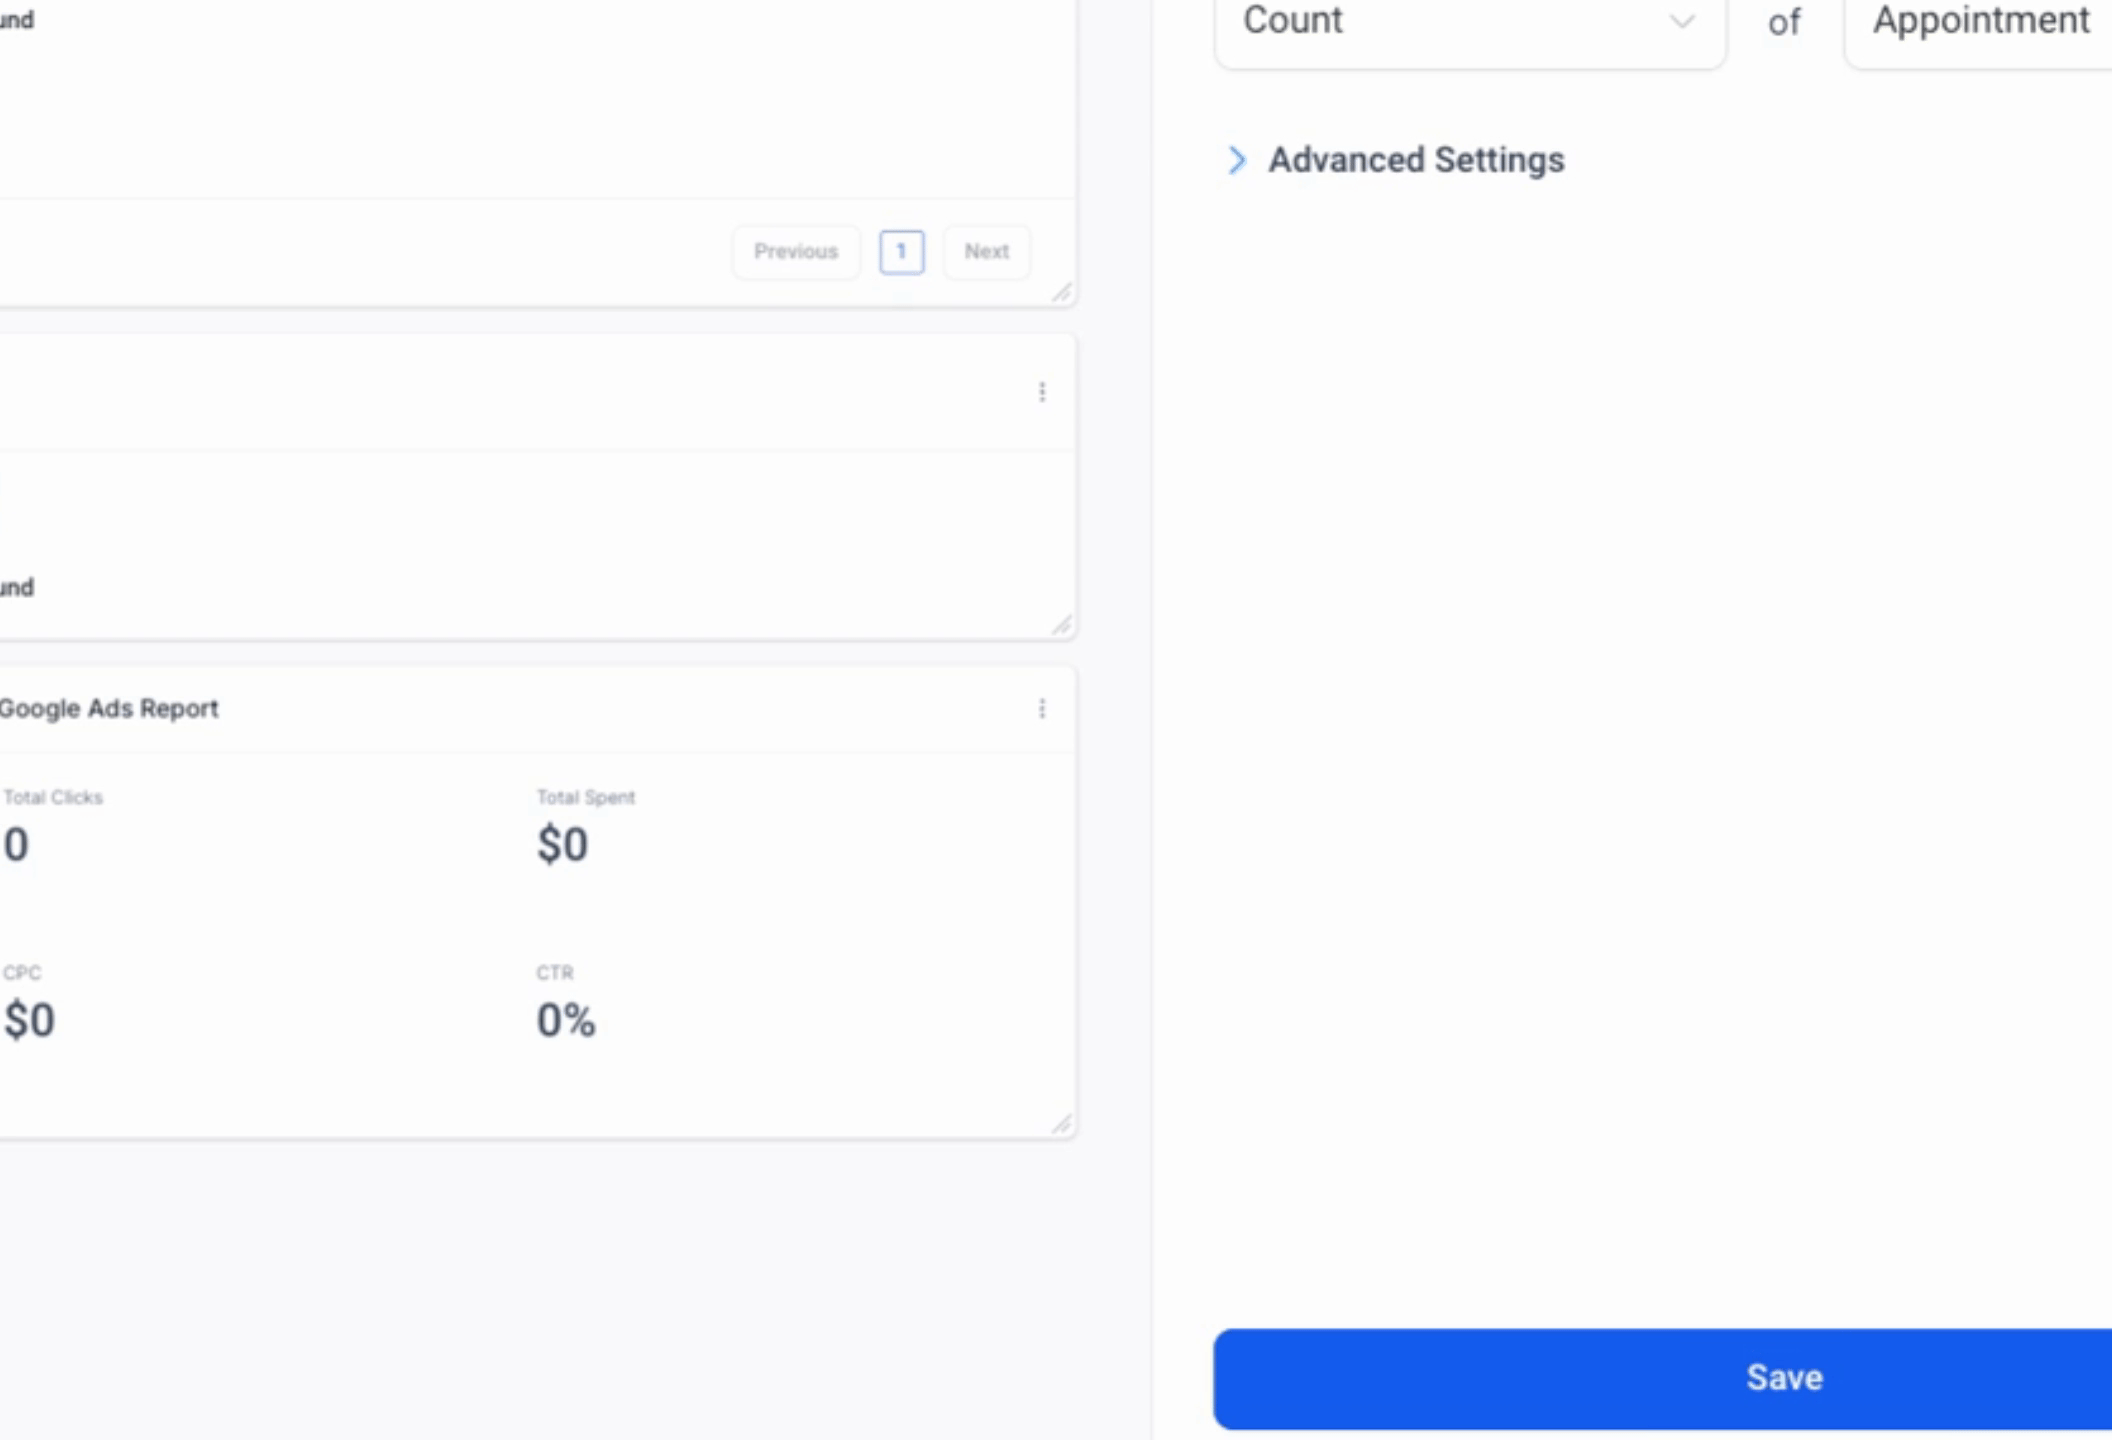
Given that we have too many widgets, we need to remove some. We are limited to a certain number of widgets on the dashboard.
For now, we will keep only two specific widgets: Conversion Rate and Opportunity Status.
We will remove the Task widget and the Funnel Stage widget.

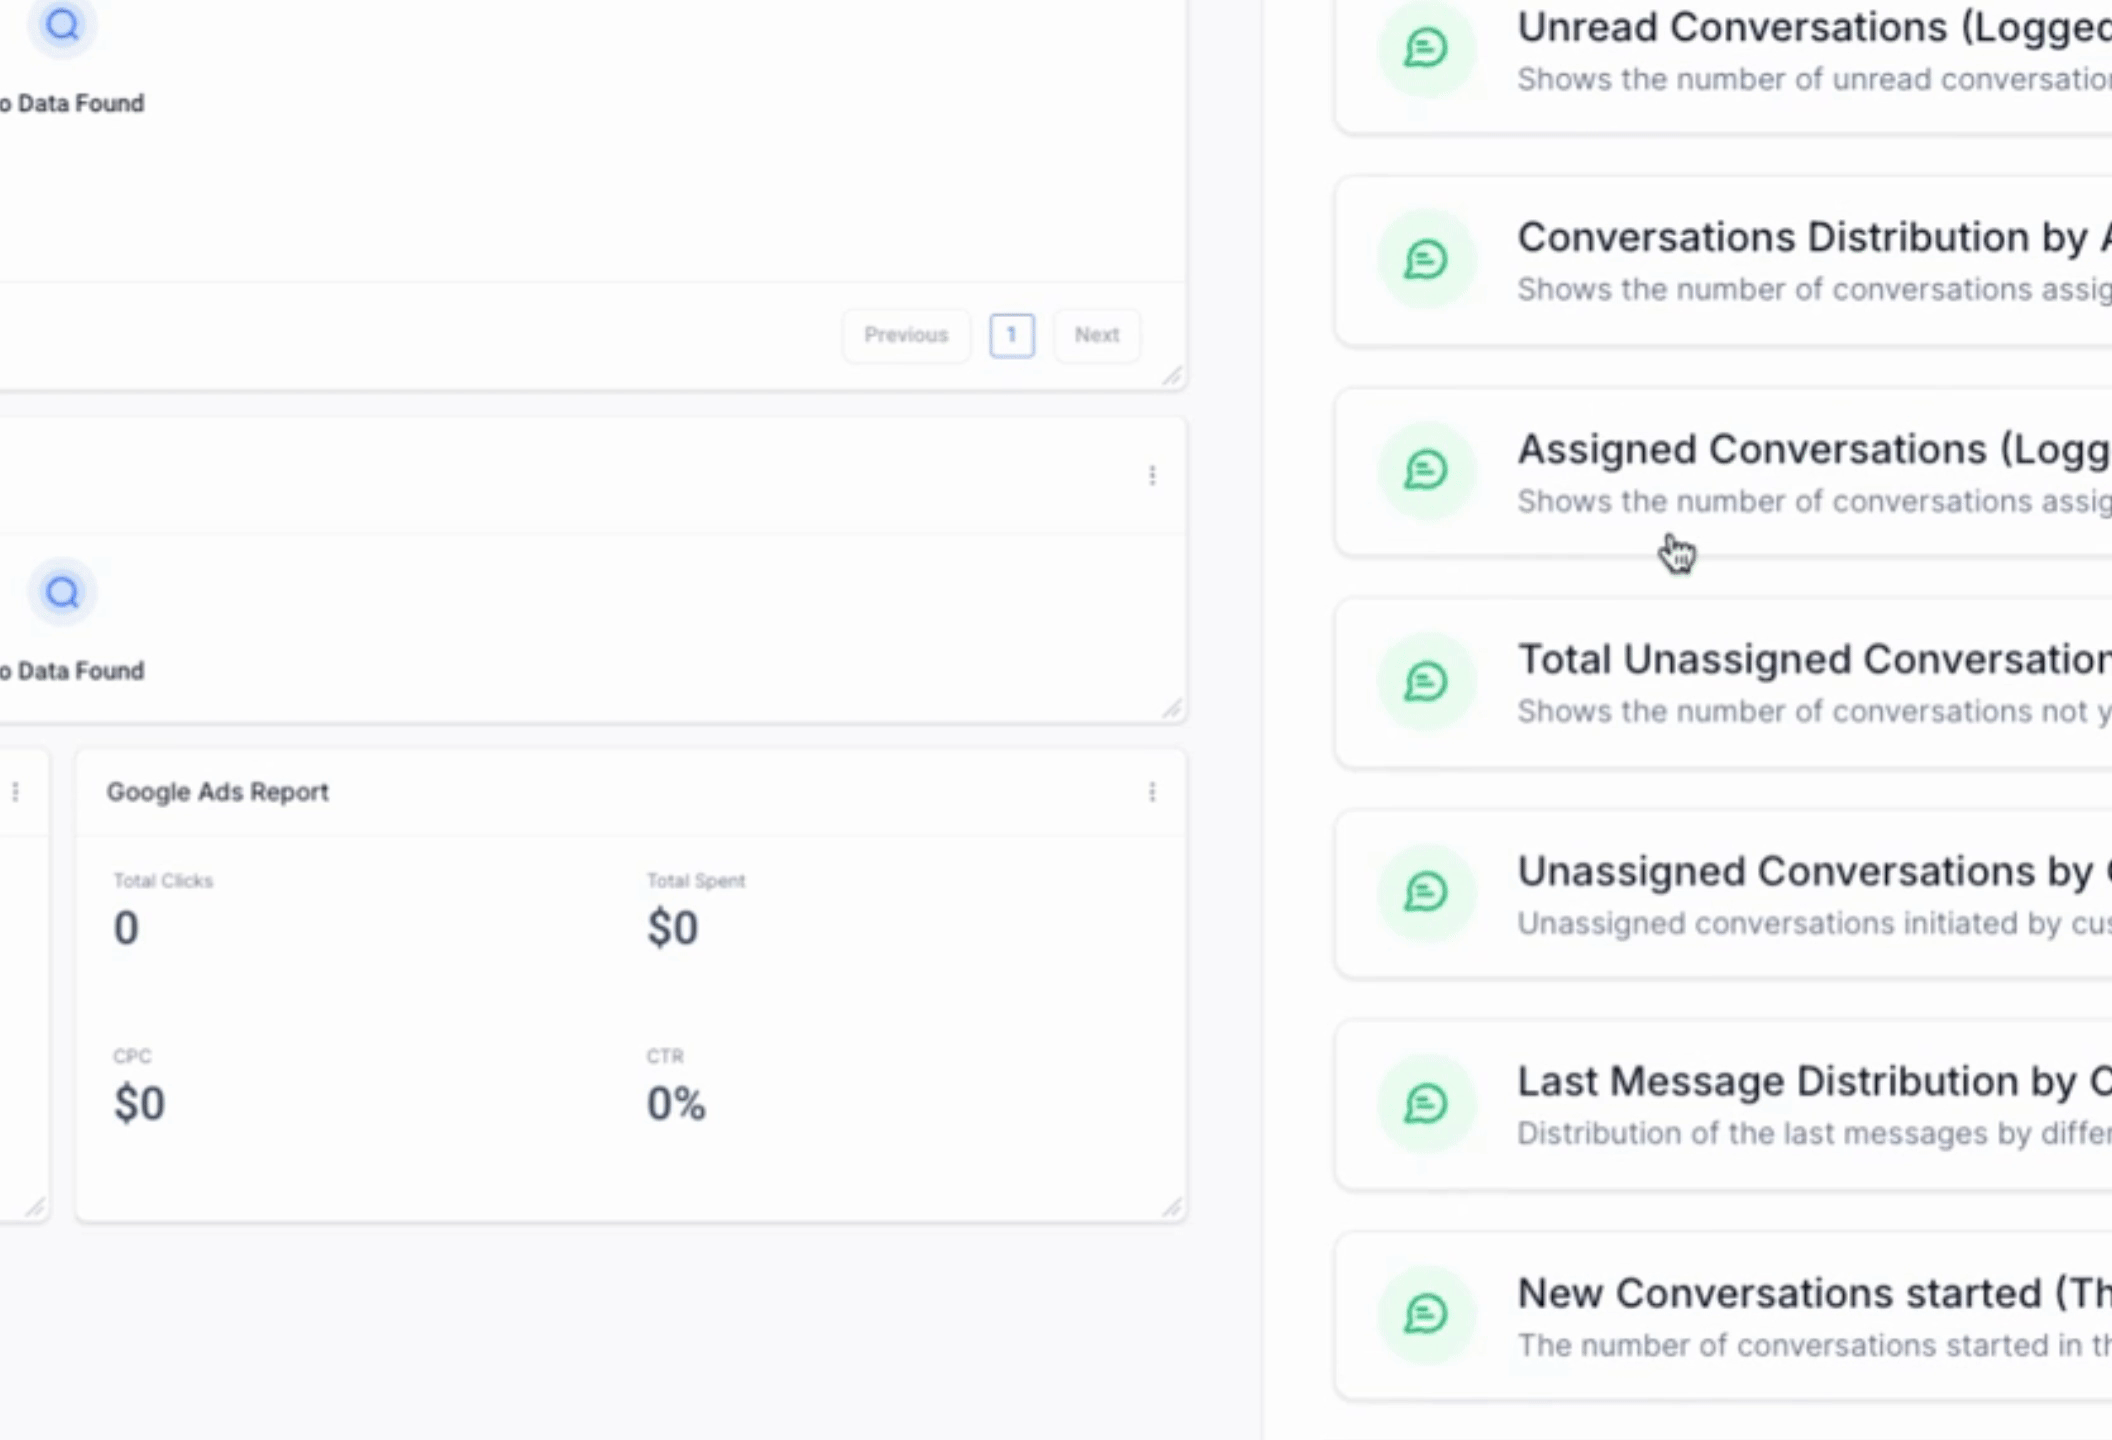
We will retain these widgets: Lead Source Report, Google Analytics, Facebook Ad Reports, and Google Ads Reports.
Finally, we will ensure that Confirmed Appointment Count is added, and then click Save.
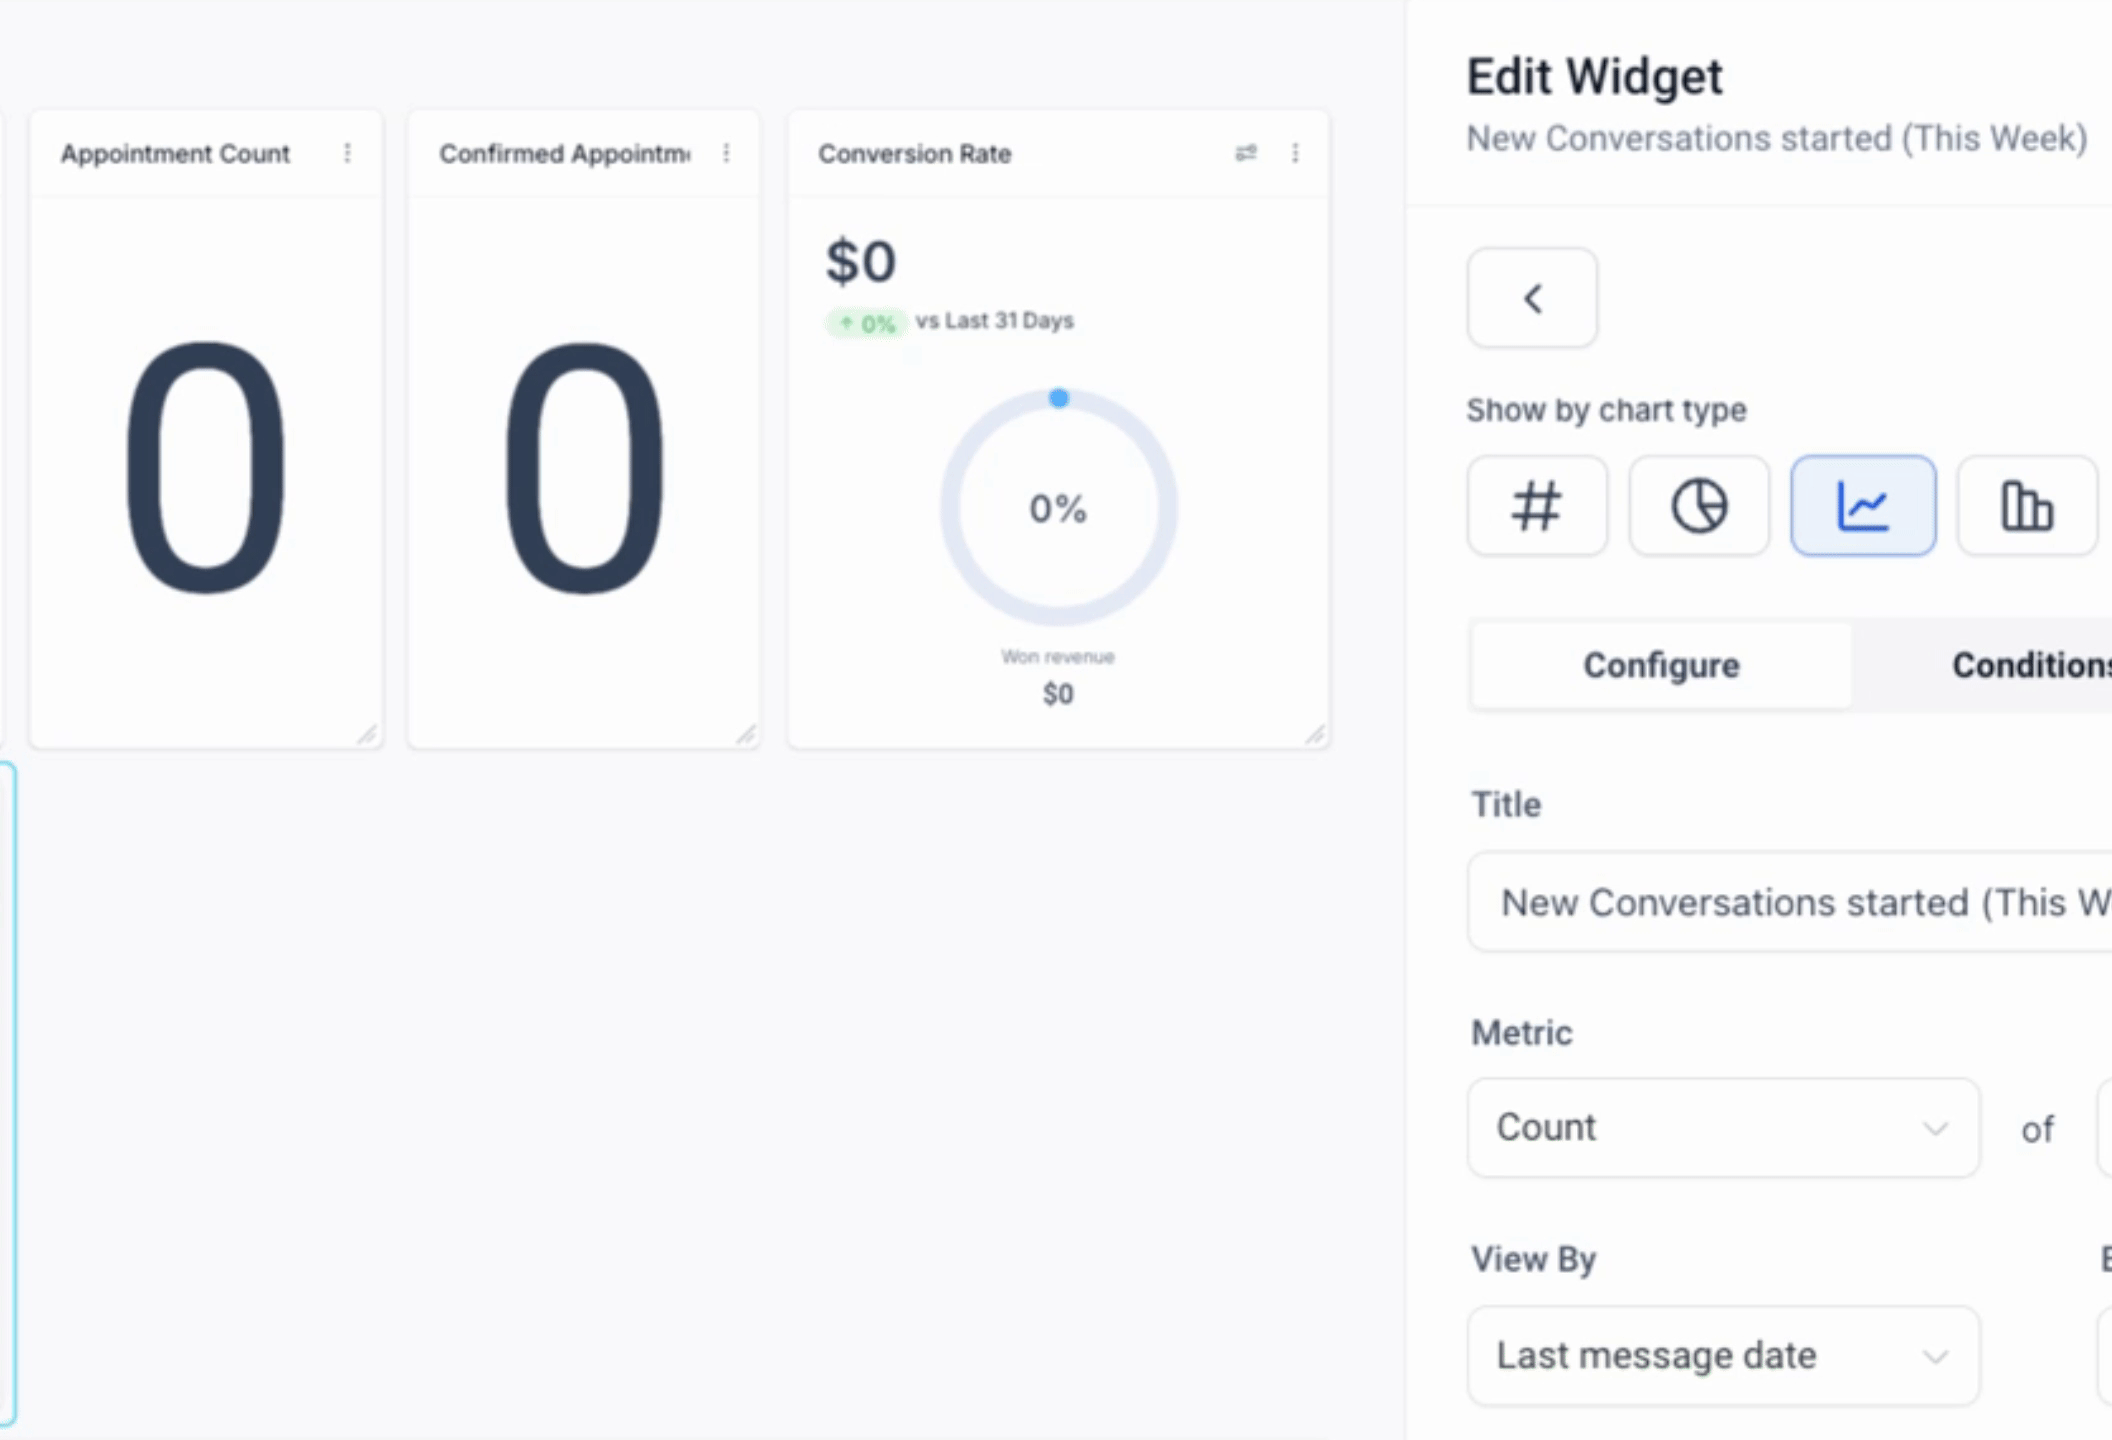
Next, we will retrieve the Conversion Rate. Ensure that you add this widget to the dashboard.

Click on New Conversions Started This Week, so they can view it from a weekly perspective.
The 10 widgets we need to ensure are added include: Opportunity Status, Appointment Count, Confirmed Appointments, Conversion Rate, Facebook Ad Reports, Lead Source Report, Google Business Profile (last 30 days), Google Analytics Report, and Google Ads Report.
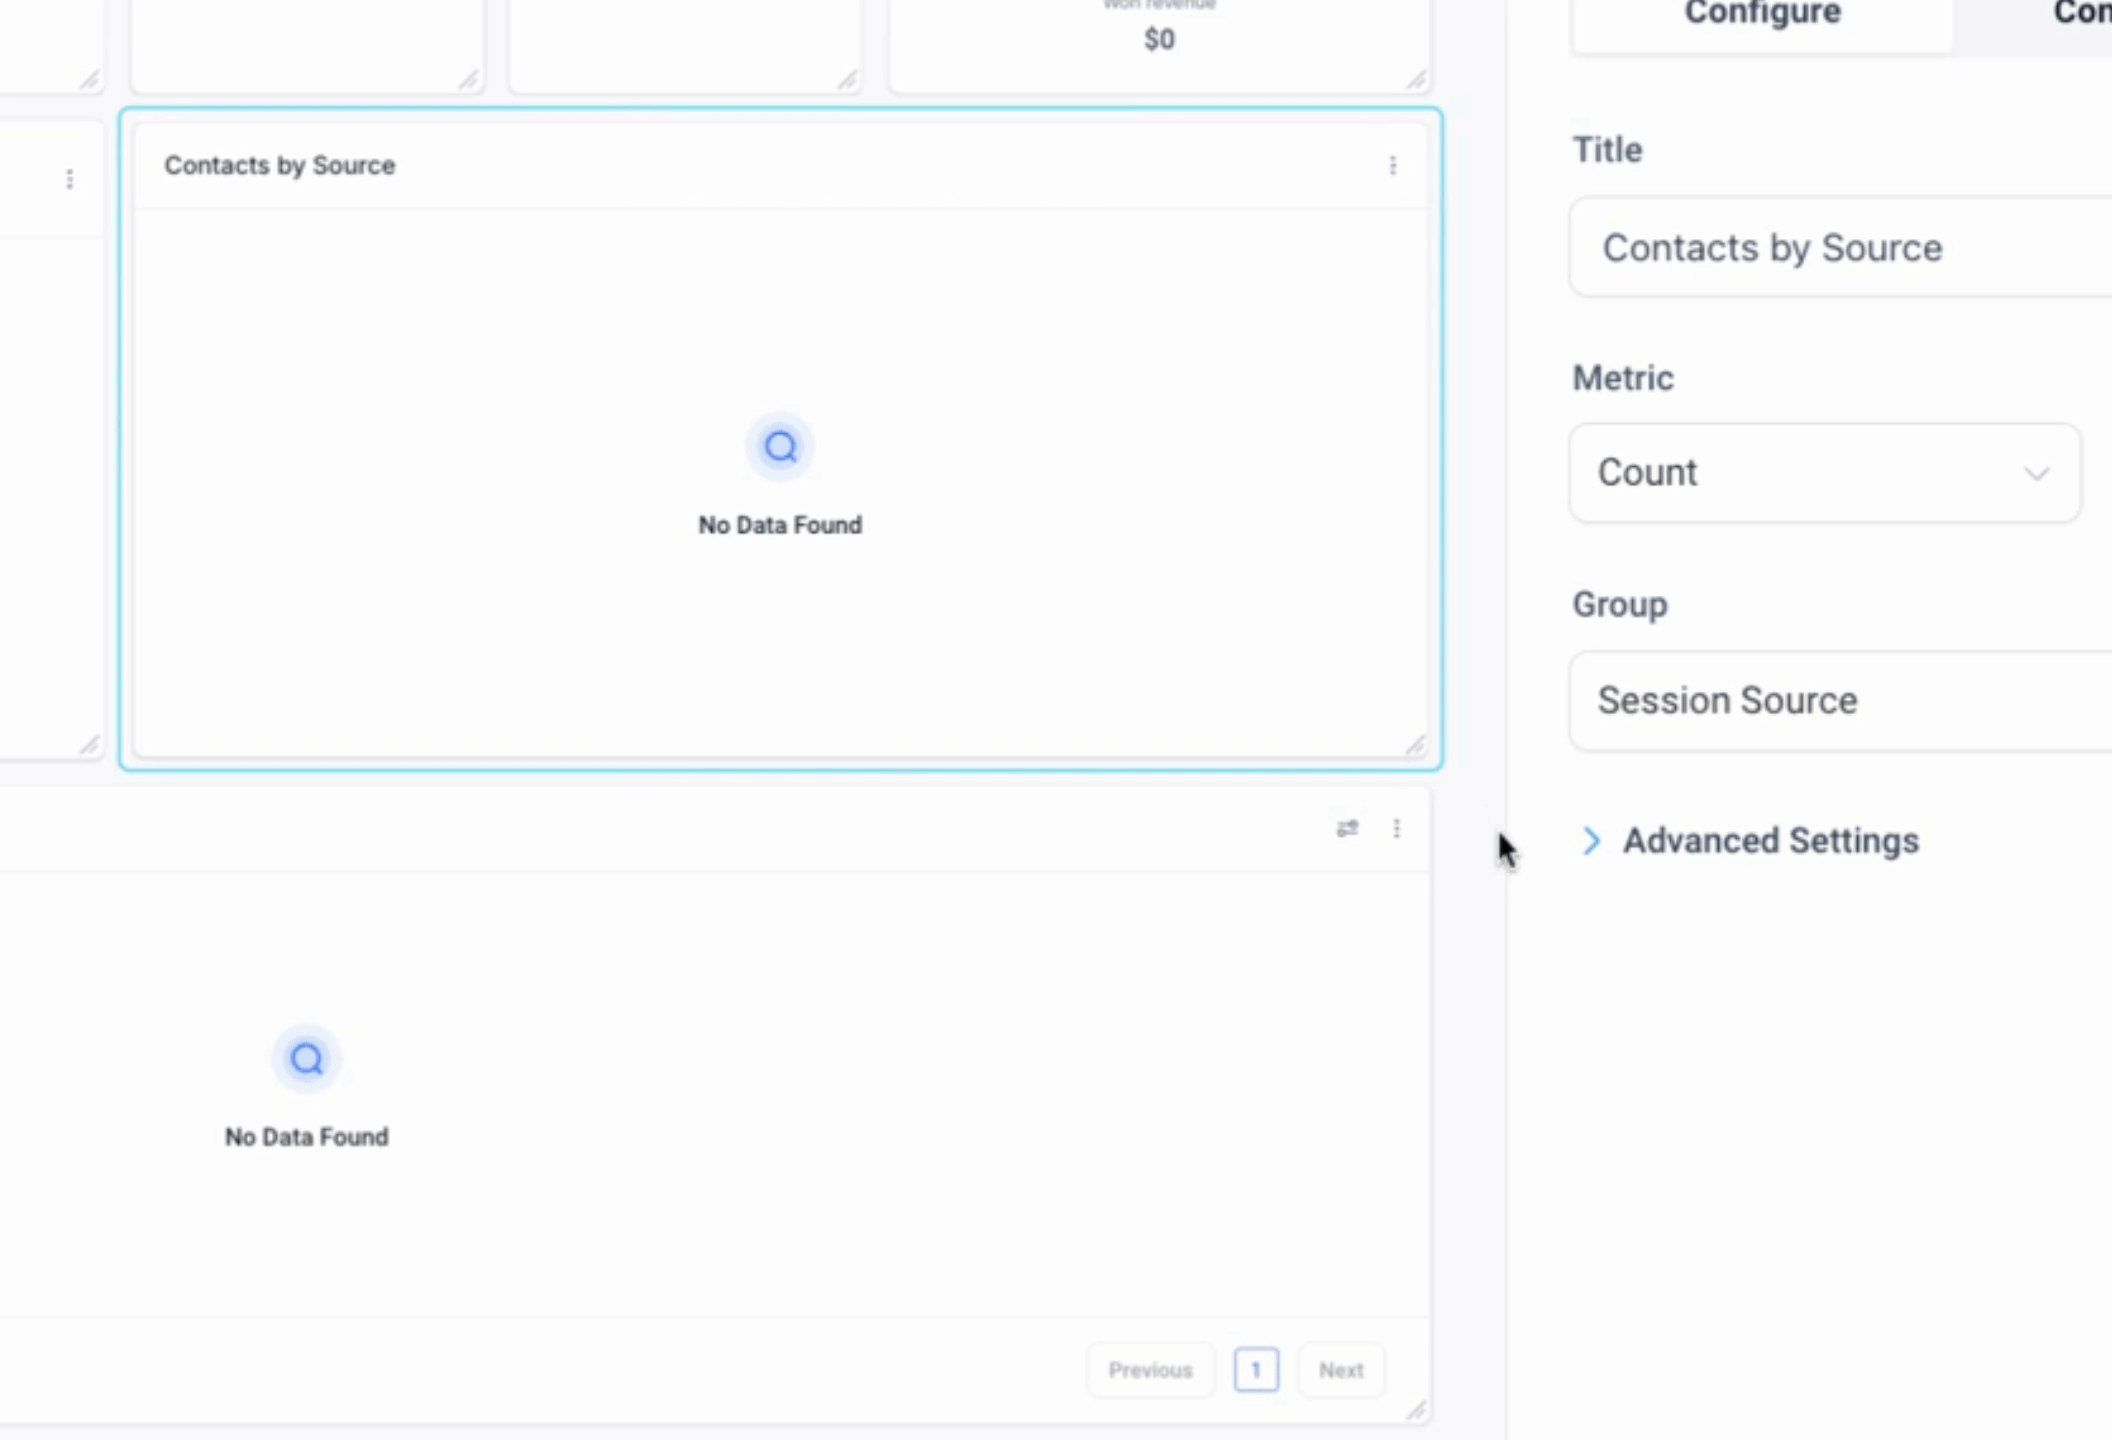
Additionally, we can include Contacts by Source to align these metrics for better visibility.

These steps outline what we need to do when creating a dashboard for a new customer.
By following these steps, you will have successfully configured the dashboard for a new sub account with the essential widgets in place.